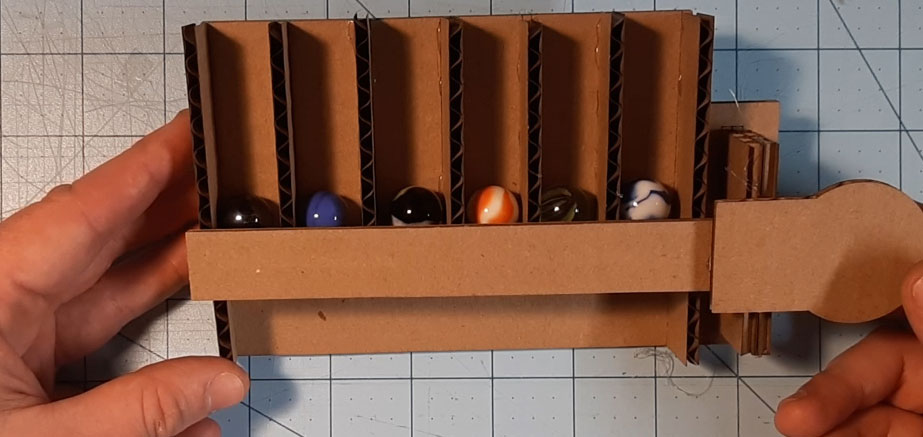
Build a Starting Gate
What You’ll Need
- Starting Gate Design Template
- Cardboard (corrugated)
- Straws
- Glue Gun and Glue Sticks
- Barbecue skewer or similar thin stick
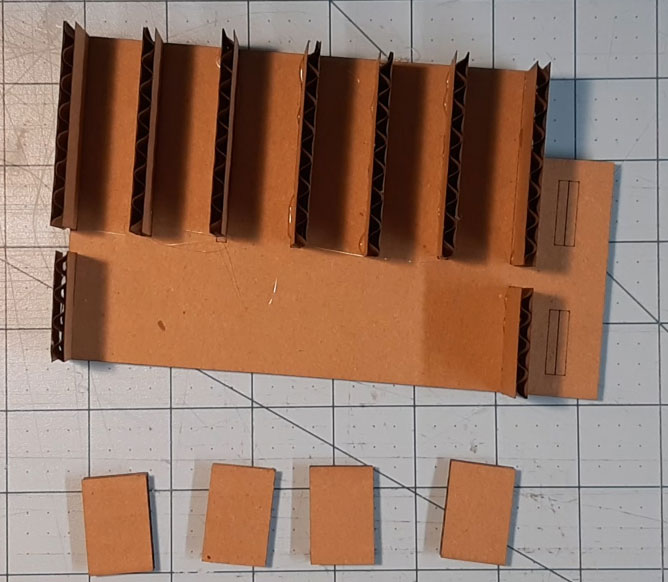
STEP 1
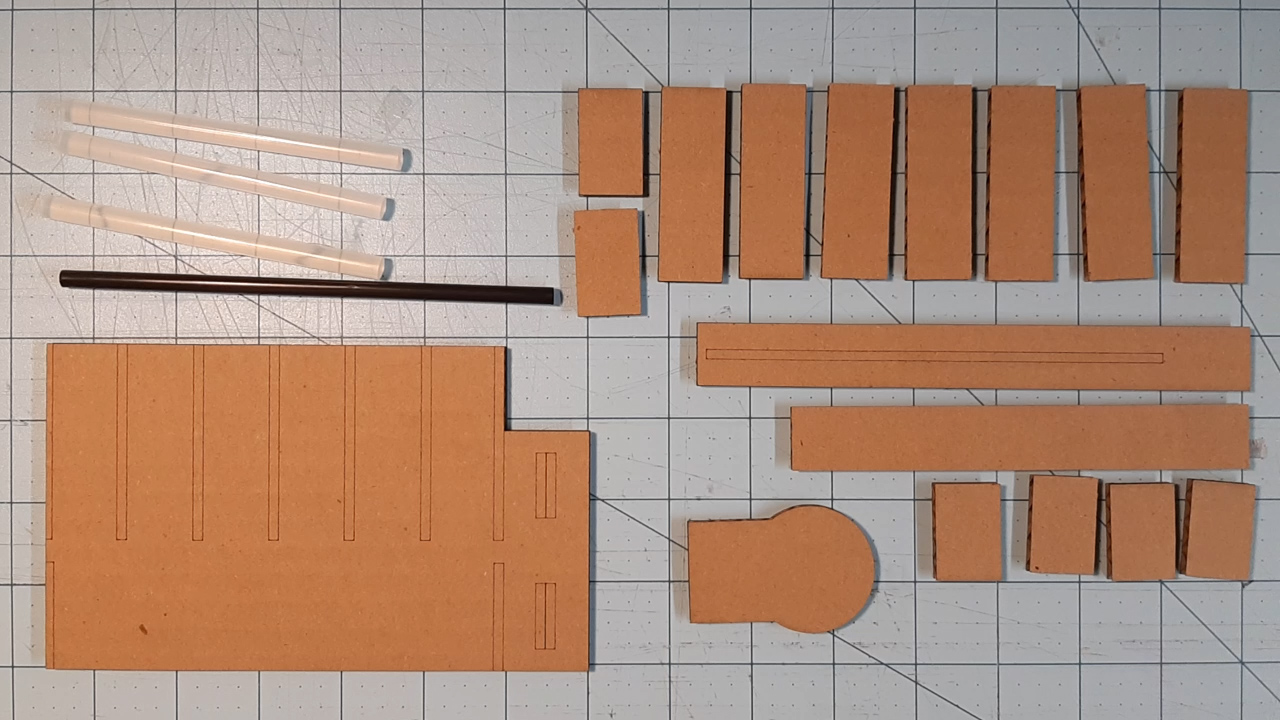
Cut out your pieces
Take the Starting Gate Design Template, cut out all the shapes, and glue them onto your cardboard. After that, cut out and arrange all your pieces so you’re sure you have everything

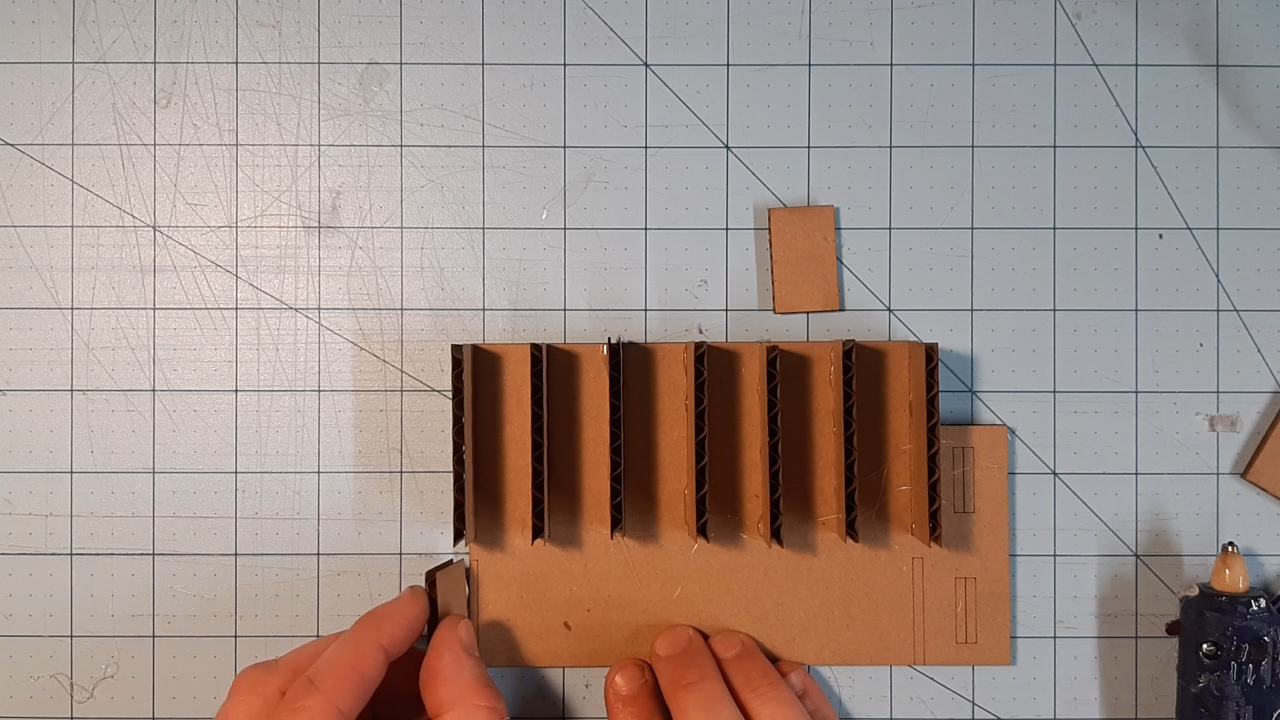
STEP 2
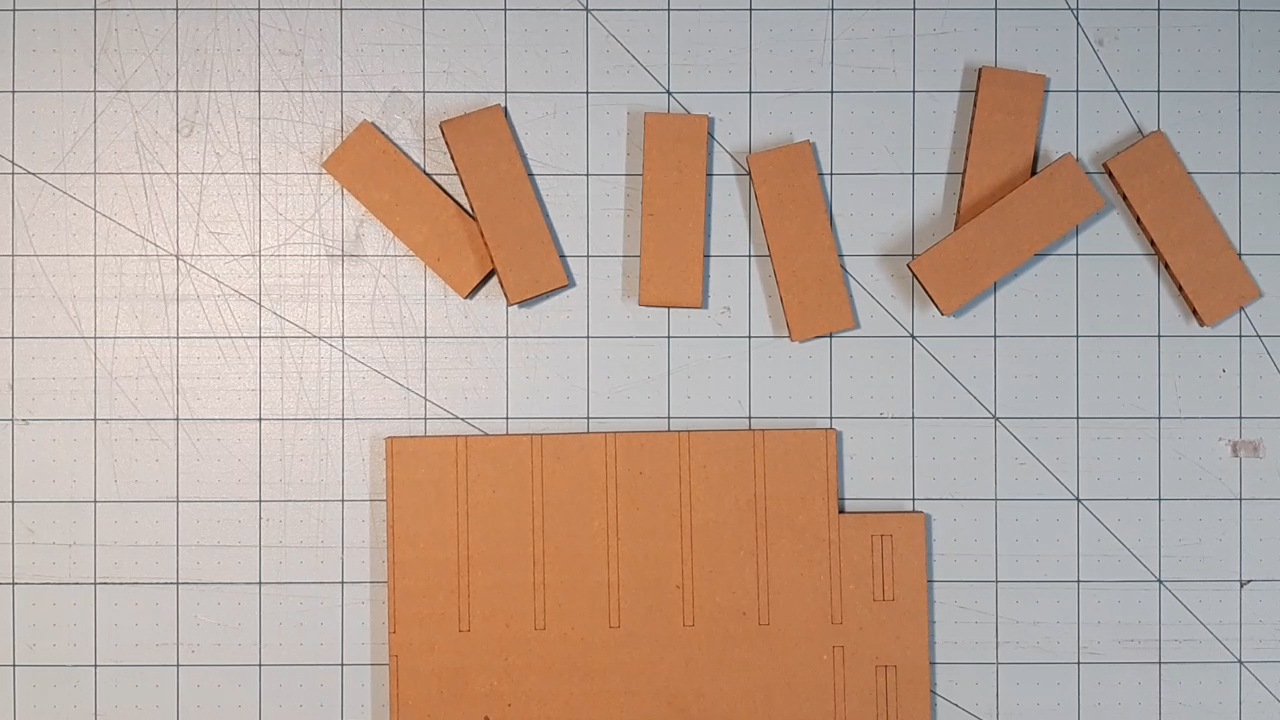
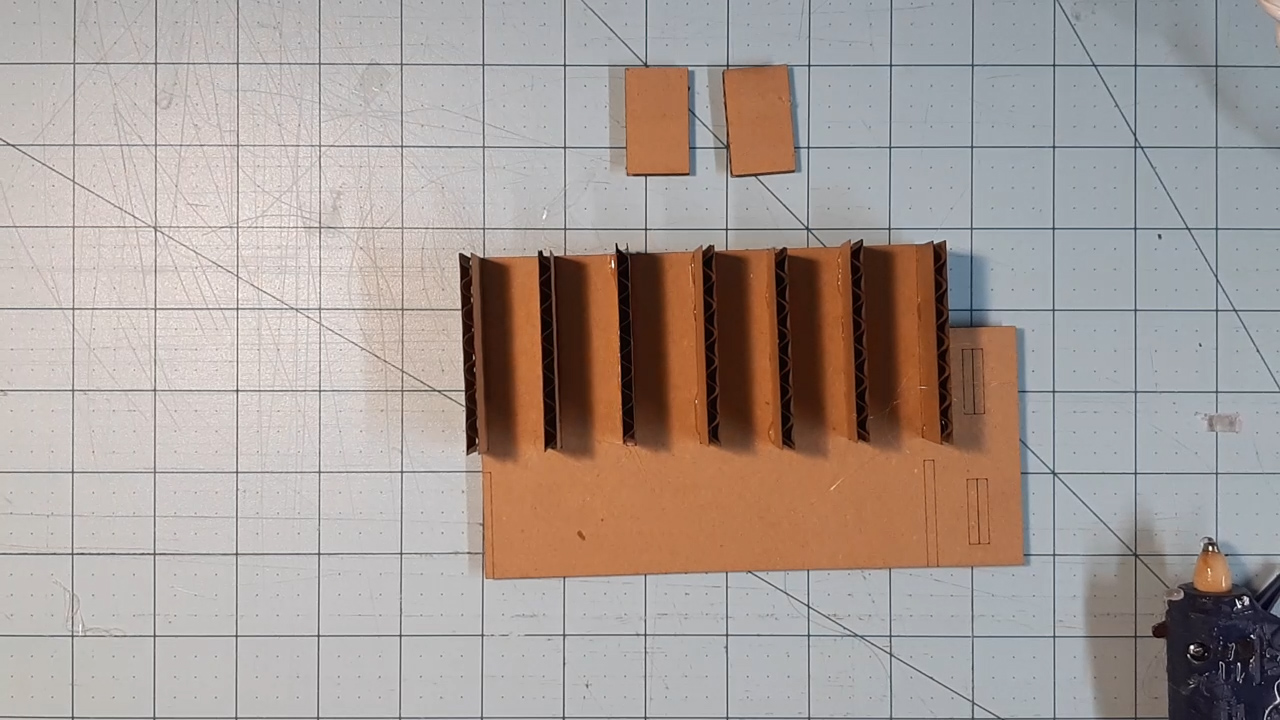
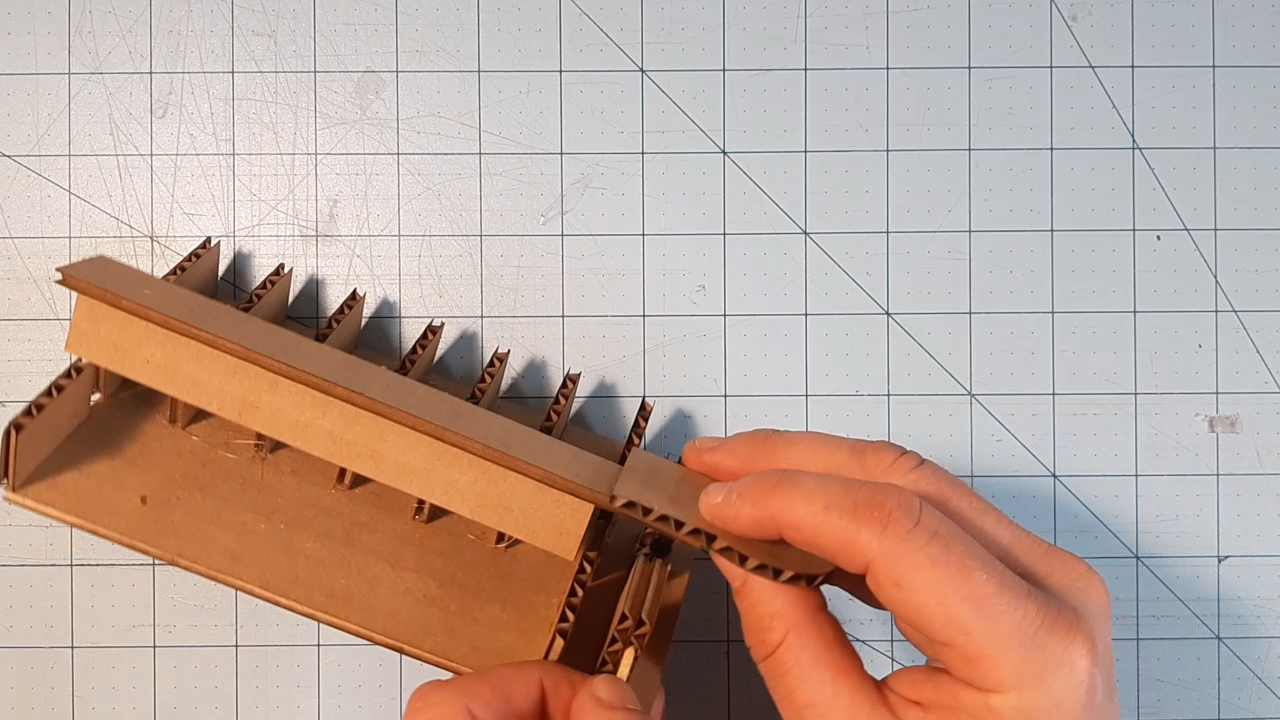
Glue on Wall Pieces
Take the 7 strips labeled ‘Wall A’ and glue them to the corresponding shaded areas at the top of your template base. Next, take the 2 smaller strips, labeled ‘Wall B’ and glue them on the two spots on the bottom

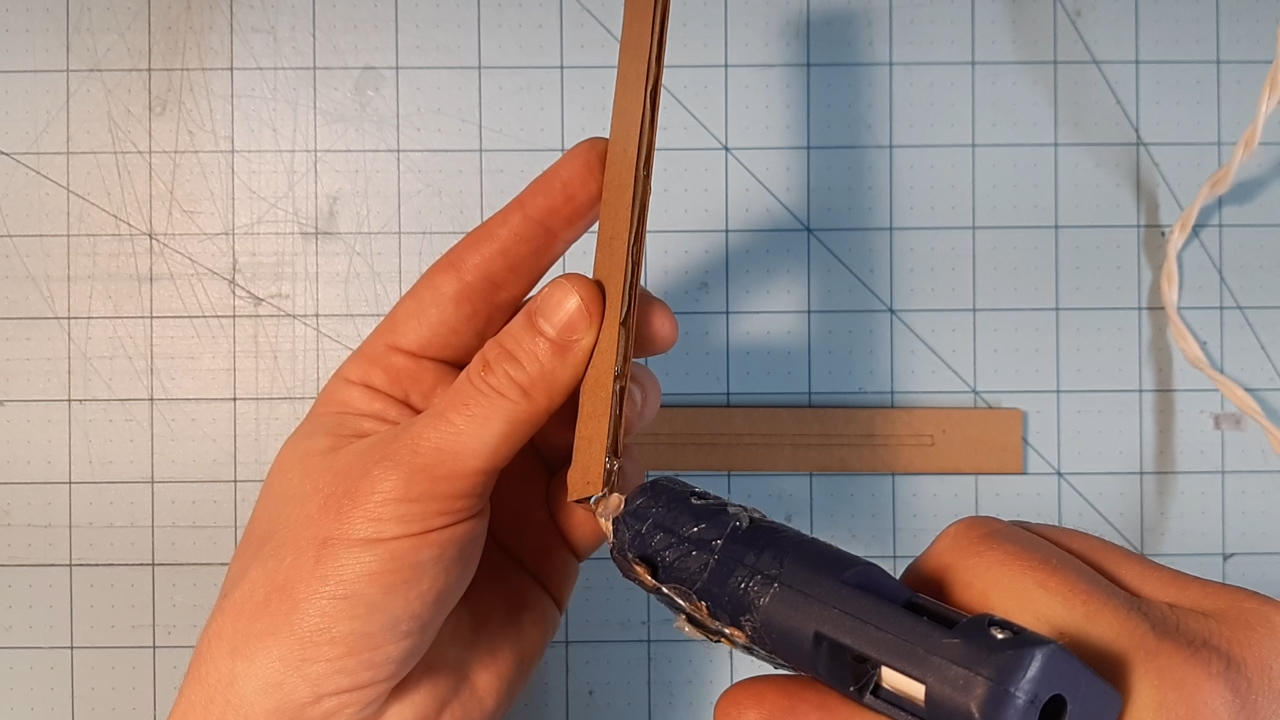
STEP 3 A
Building the Gate Support
Grab the 4 pieces labeled Gate Support, and glue them together in pairs, so that you have a 2 double think pieces of cardboard. Glue these two pieces on the side in the shaded areas. Make sure there is about 2 cm between the the pieces
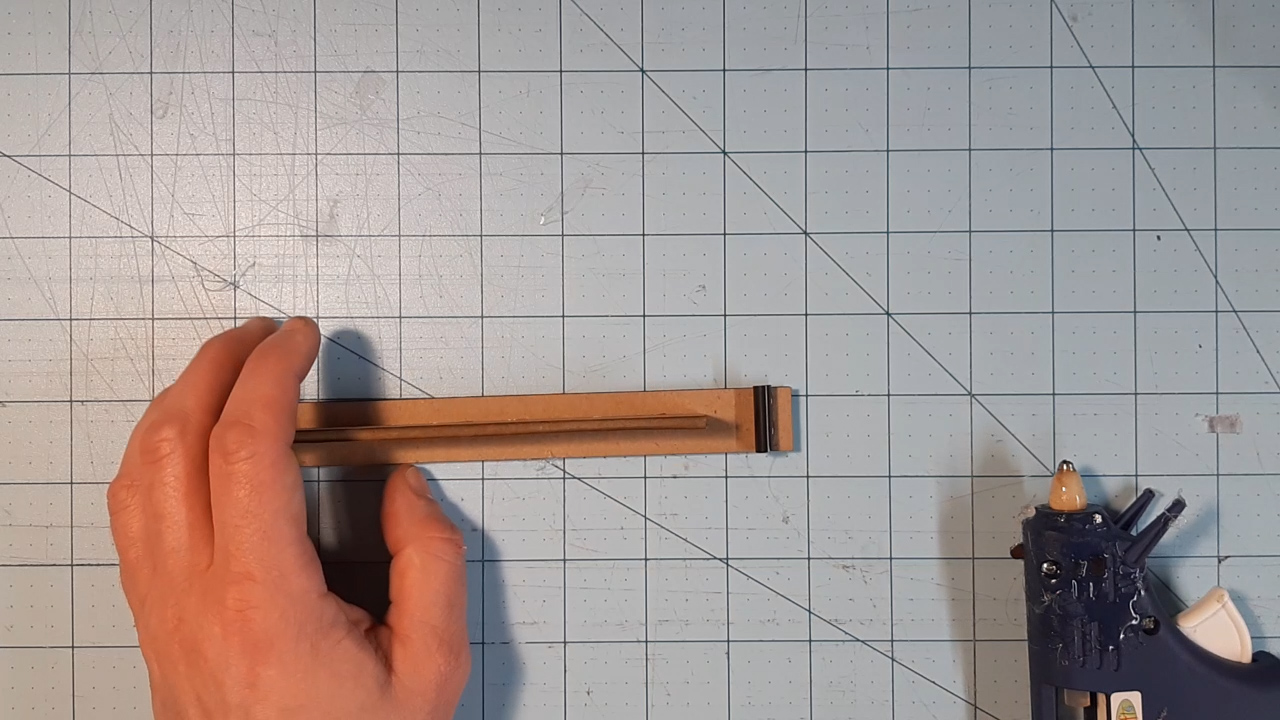

STEP 3 B
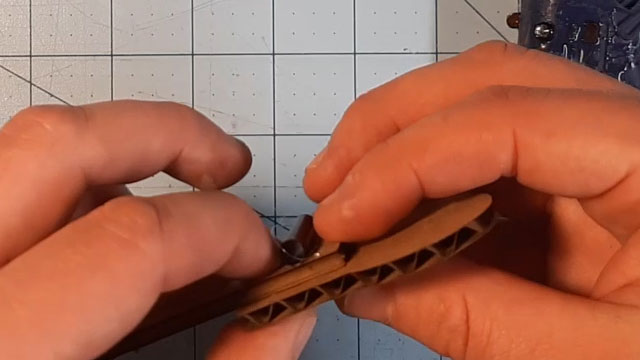
Building the Gate
Next, take the parts labelled Gate A and Gate B and glue B to the shaded area on A, making sure its standing straight. After that, you will need to cut a 2 cm piece from a straw, and glue it to the other end of Gate A. Glue the Handle piece to the flip side of that, and we’re ready to attach it all together
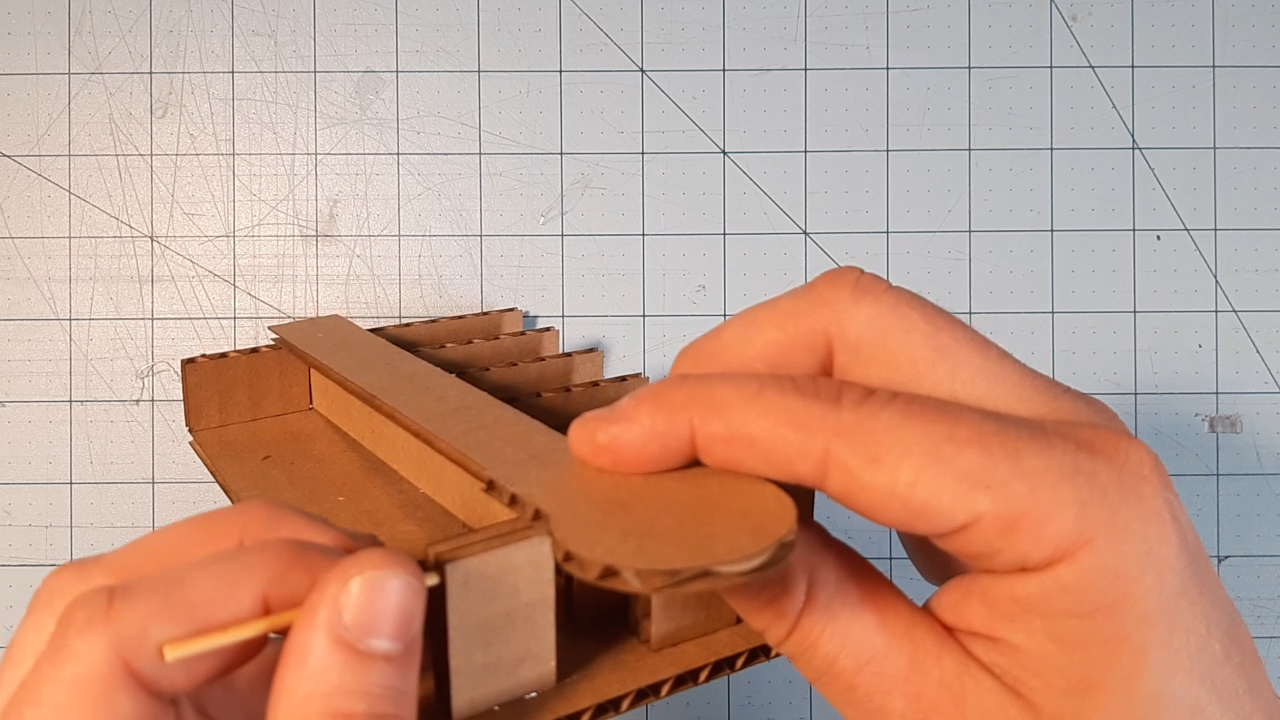
STEP 4
Putting It All Together
The final step needs the thin barbecue skewer. Cut it down so it spans between the two Gate Support pieces. Now simply place the finished gate onto the base, and make sure the skewer is going through the straw as well as the Gate Support pieces.
….and there you have it, your very own Starting Gate