Build a Scoring Zone
What You’ll Need
- Scoring Zone Design Template
- Cardboard (corrugated)
- Wooden dowels or chopsticks
- Glue Gun and Glue Sticks
- Box Cutter or Sharp Scissors (and an adult’s help)


STEP 1
Set Up
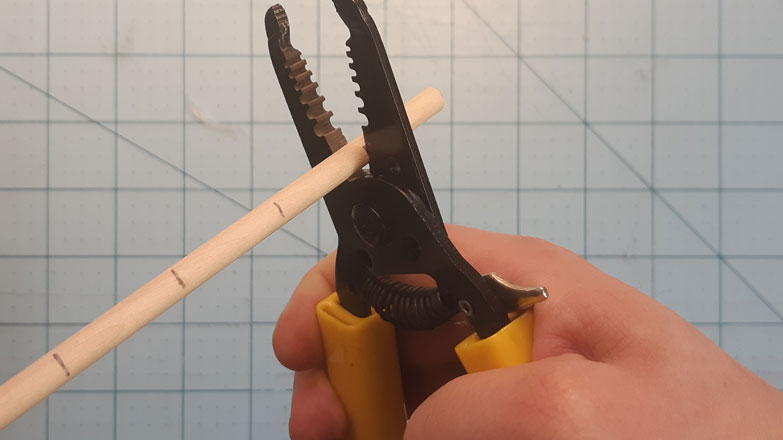
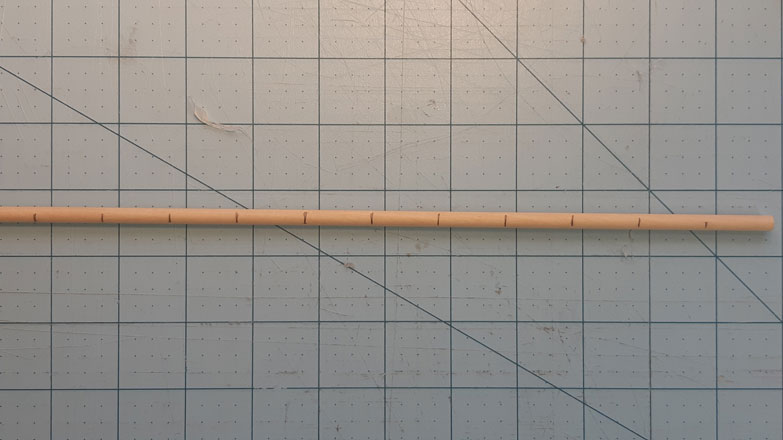
Cut out the shapes from the Scoring Zone Design Template, glue them to a piece of cardboard, and then cut out all the piece. Use the guide on page 1 to to mark and cut a wooden dowel or chopstick (about 6 mm thick) into 2.5 cm pieces. You will need 13 of them. Have an adult help you with this step.

STEP 2 A
Building the Walls
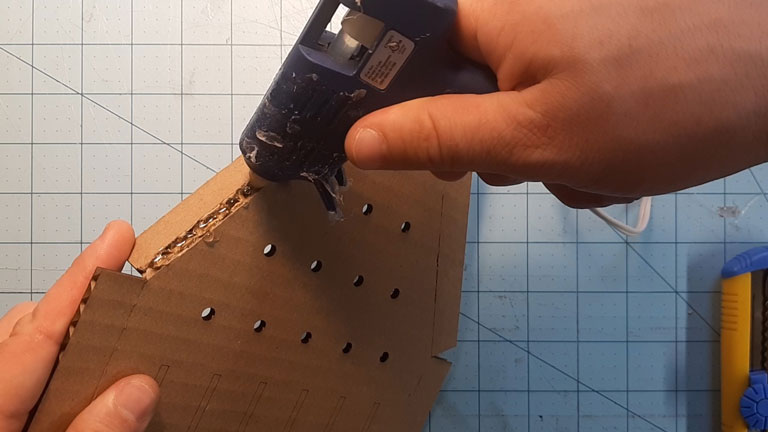
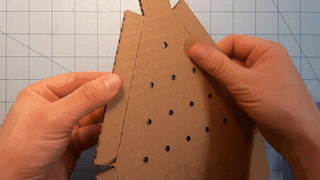
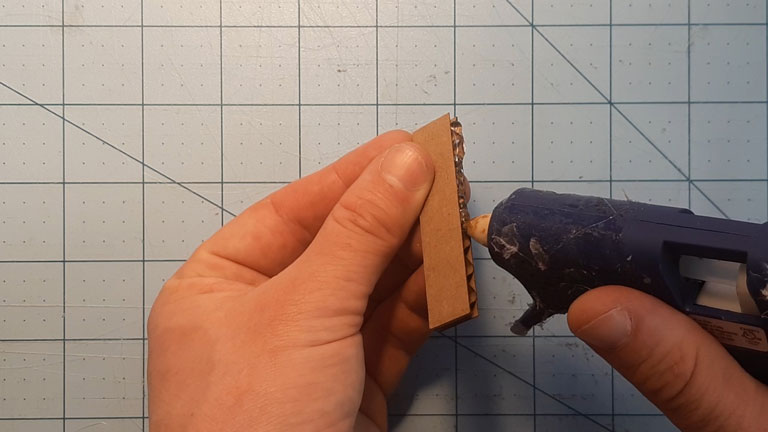
If you take a pair of box cutters or sharp scissors (with the help of an adult), you can lightly cut along the dotted lines, making sure not to cut all the way through. You should now be able to bend the piece downward and glue it in place. these will serve as the walls for our project

STEP 2 B
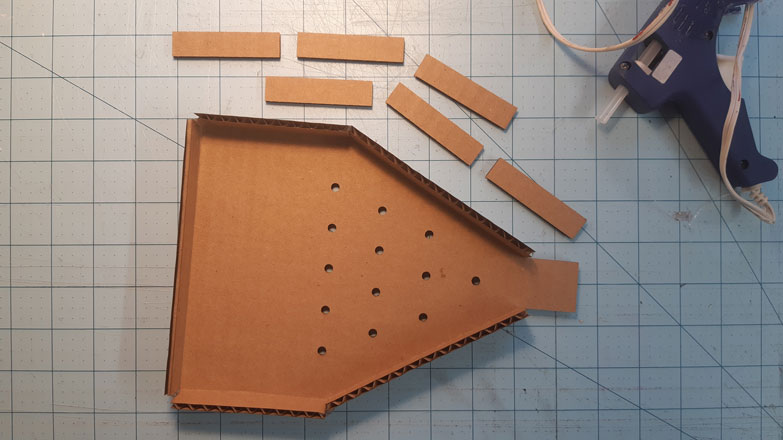
Building the Point Buckets
Now you need to take the 6 Wall pieces and glue them onto your scoring zone. For better reference, print a second copy of the design template and glue it in the frame to have guidelines for gluing the walls on


STEP 3
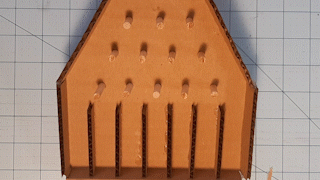
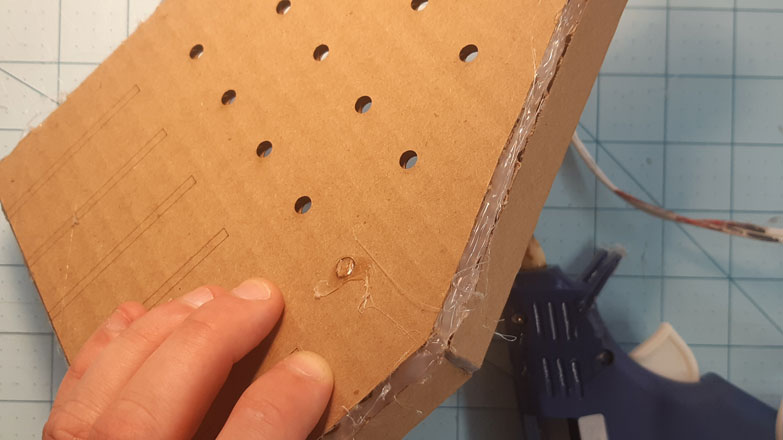
The Pegs
Your final step is to glue on the pegs which will help mix up the marbles before falling into the points buckets. The best way to do this is to put some hot glue in the from the bottom side of the piece. Then push your peg through from the top (this will prevent big blobs of sticking in the way of your marbles) and stop pushing when it just starts to peek through the other side. When they are all in, I like to go over it and add one more blog of hot glue on them to add stability
And now you have a possible ending for your Marble Run! try adding different numbers to the points buckets, race your family members to seee who can get the most points in your creation. Don’t forget to share what you make with us on Instagram!