Build Marble Pathways
What You’ll Need
- Pathways Design Template
- Cardboard (corrugated)
- Wooden Dowel (.6mm diameter) or similar support rod
- Glue Gun and Glue Sticks
- Imagination!

STEP 1
The Basics
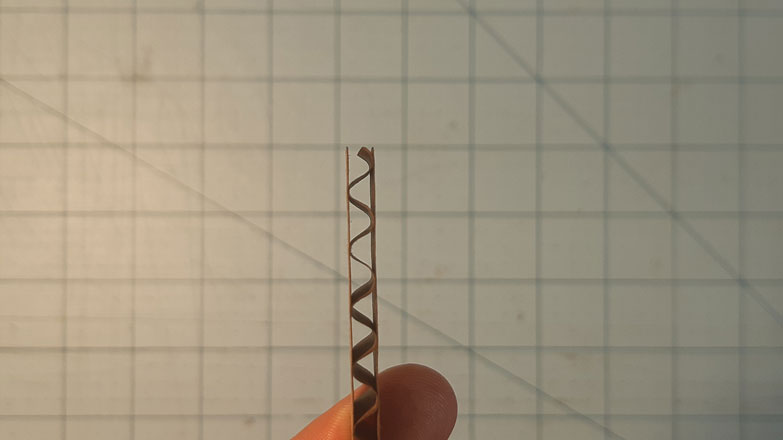
Let’s start with building the ‘walls’ of our pathways. Look at your cardboard; can you see that its two sheets separated by the wavy bit? well we just need to pull off one of those top layers, and that will allow the cardboard to bend and flex. Simply grab on of the sides and gently pull it away, using your fingers to pull away excess cardboard. This step may take some time and patience, keep at it!
STEP 2
Attaching the Walls
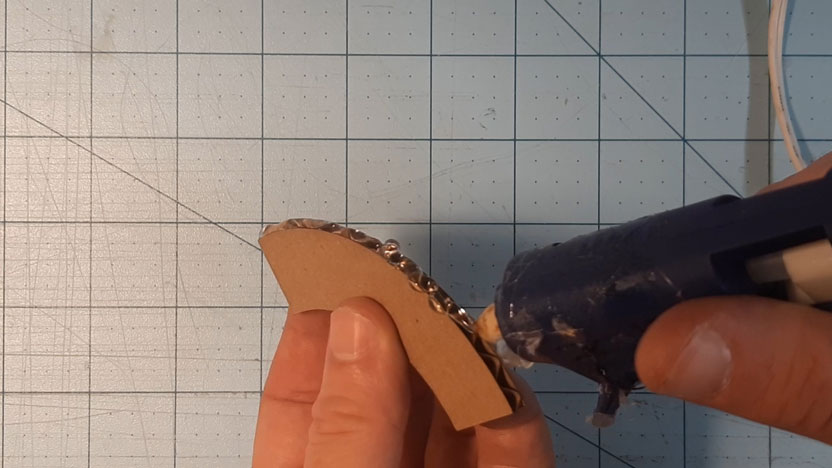
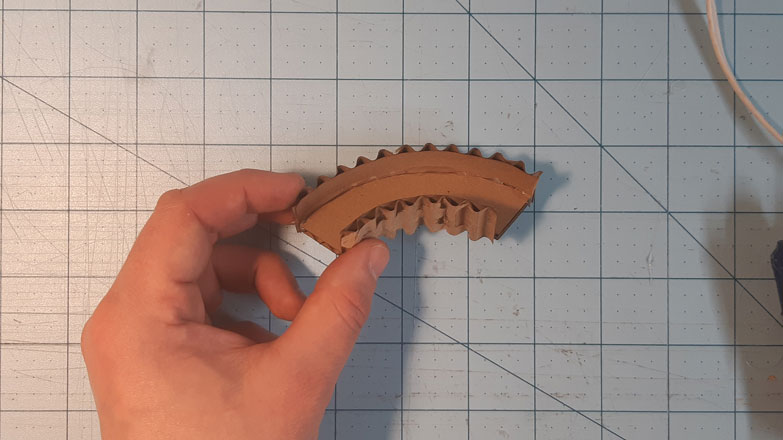
Now that you’re past the hard part, you can attach these strips to any shape you design, and the cardboard will bend yet still stay sturdy! Amazing, right? You can see in the images that you just have to apply a line of glue to the side of your pathway piece, and then stick on your wall, flat side being glued on. Cut it down to size and you’re good to go!

STEP 3
Get Creative
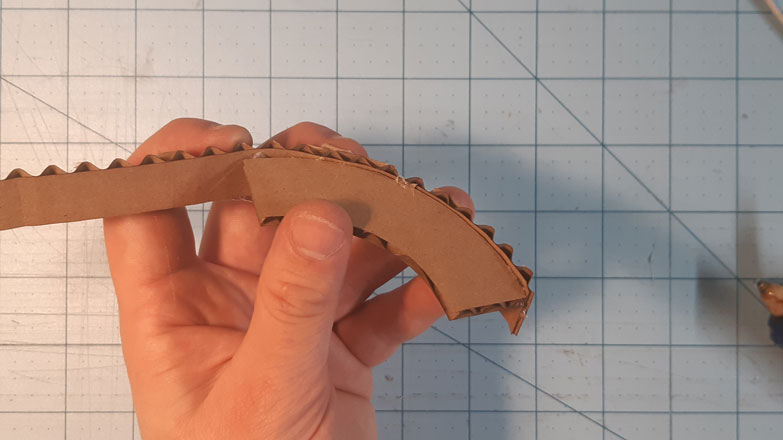
You can use these pathways to connect your Marble Run contraptions, or you could connect different pathways together and make one giant crazy path (that we hope you would share with us!). We’ve included a couple designs to help spark your creativity. See the next step for instructions to build ‘The Spiral’
STEP 5 A
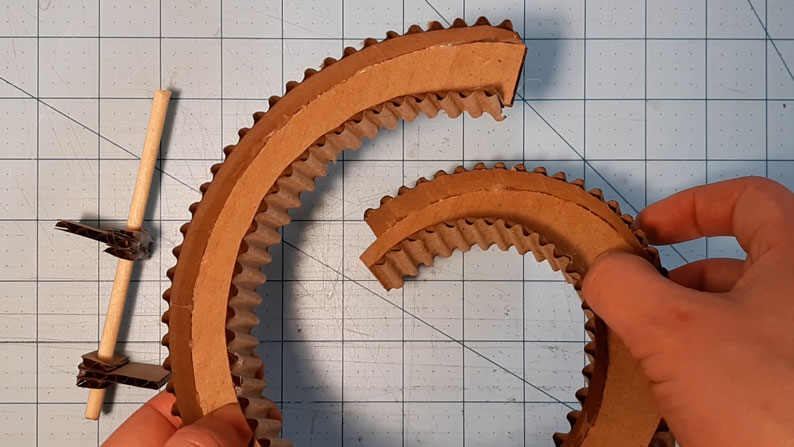
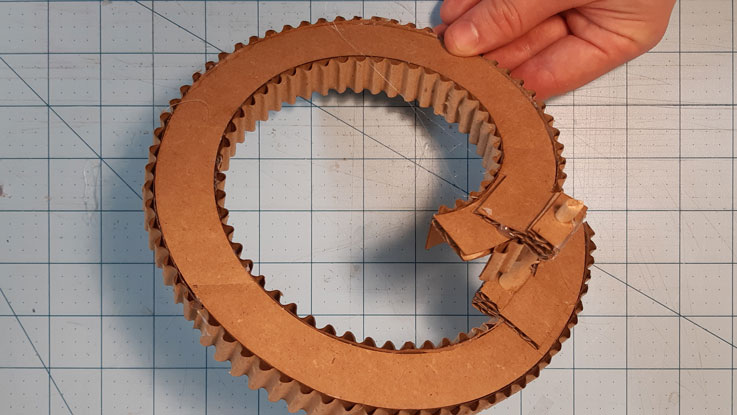
The Walls
Let’s start with the easiest part and attach the walls. Tear one side off of the cardboard strips and start attaching them around the sides of the spiral

STEP 5 B
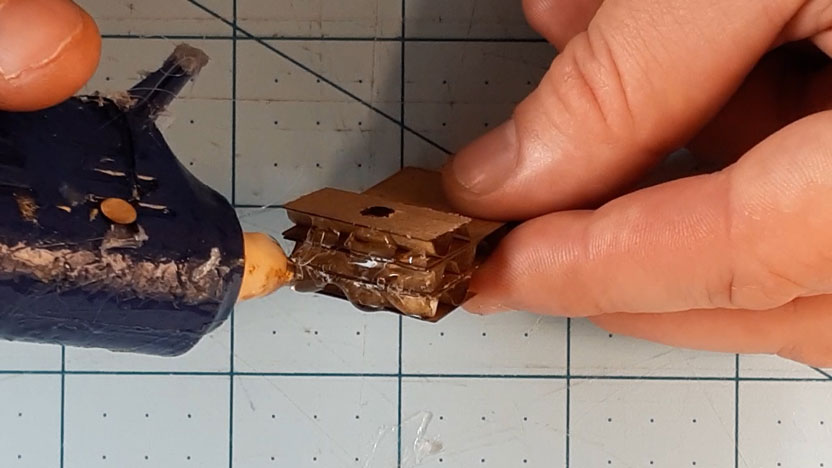
The Brace Support
Now you can take the brace pieces from the center, and glue the SMALL BRACE pieces on either side of the LARGE BRACE pieces. when the glue has dried take your wooden down (or similar wooden support) and thread it through the holes, arranging them to point in different directions

STEP 5 C
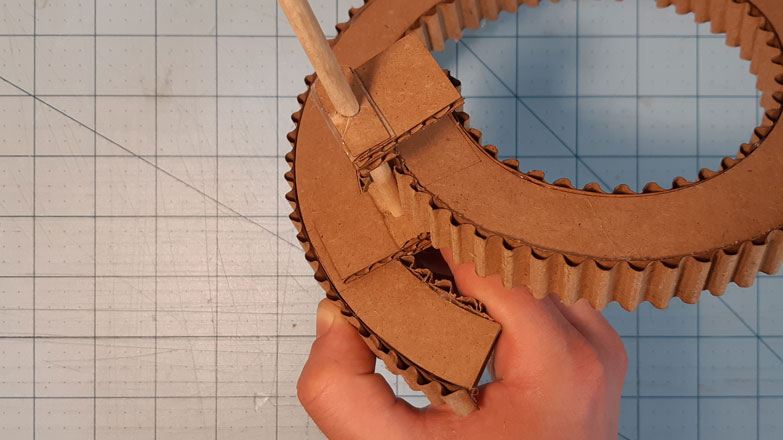
Putting it All Together
Now you’re ready to glue your support beam to the spiral.This step will require us to stretch out spiral out vertically, giving it that 3d look. Start by gluing one of the braces onto the bottom of the track closest to the middle. When this has dried, stretch your pathway to the desired height (and test it with a marble to make sure it flows), and glue the other brace to the underside of the remaining track. You may need to twist it a bit and hold it in place as the glue dries.
But there you have it – you’re own spiral loop pathway. Add some glue to the support beam if you want to keep their height the same, otherwise you should be able to adjust it as you go.