Build a Marble Lift
This crazy contraption uses the power of elastics to help launch you marbles back up to the top of your Marble Run!
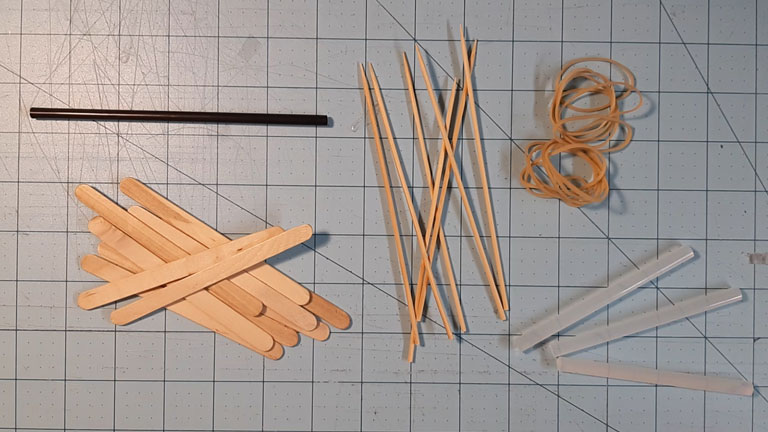
What You’ll Need
- Marble Lift Design Template
- Cardboard (corrugated)
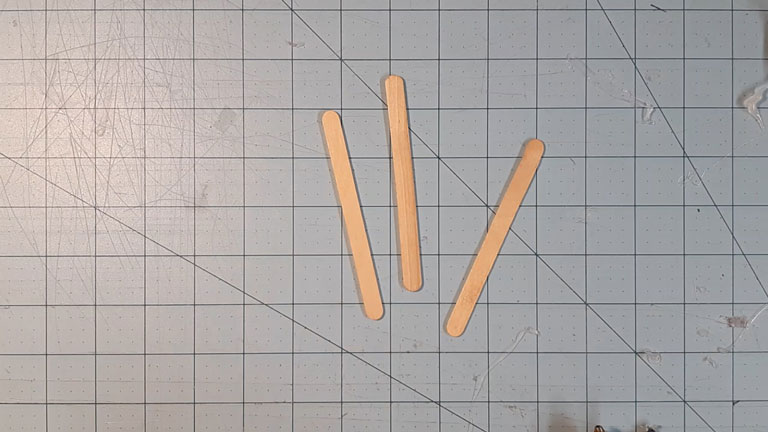
- Popsicle Sticks
- Glue Gun and Glue Sticks
- Barbecue Skewer or thin wooden stick
- Straws
- Rubber Bands
- Box Cutter or Sharp Scissors (and a adult’s help)
Author’s Note:
This project contains many steps and may get a bit challenging at times. Don’t get discouraged! Take your time and follow the examples and you’ll get through just fine

STEP 1
The Tower
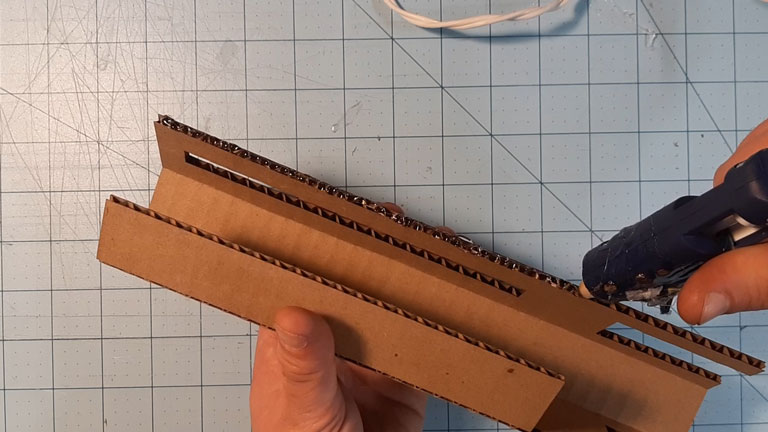
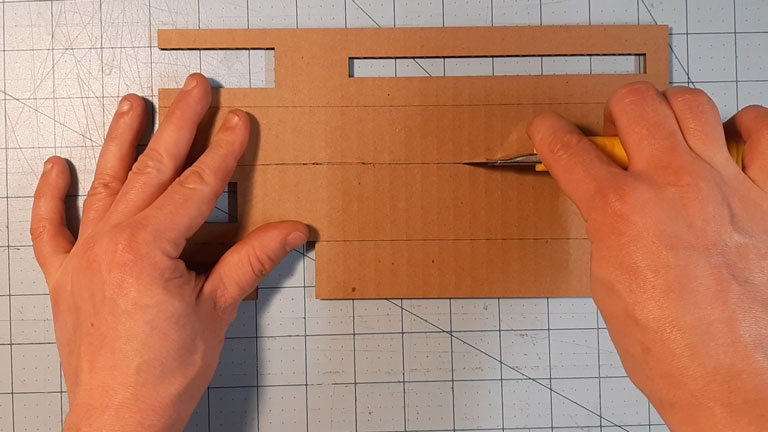
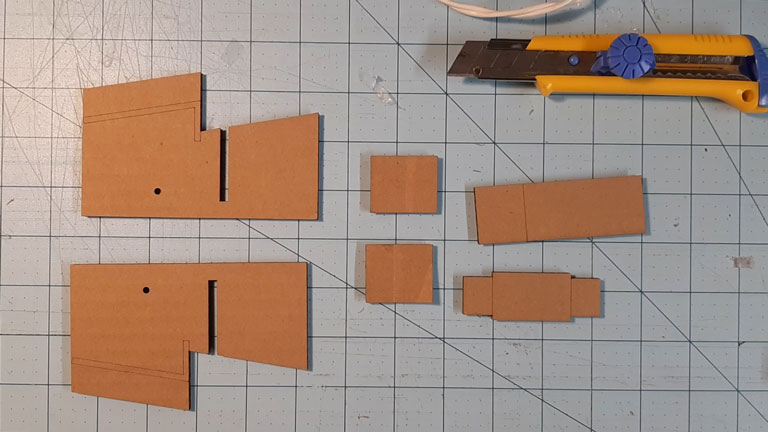
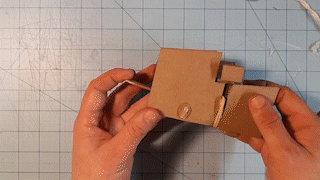
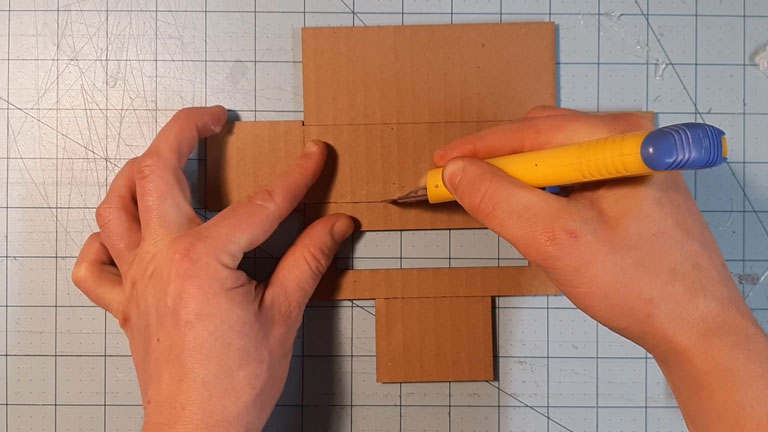
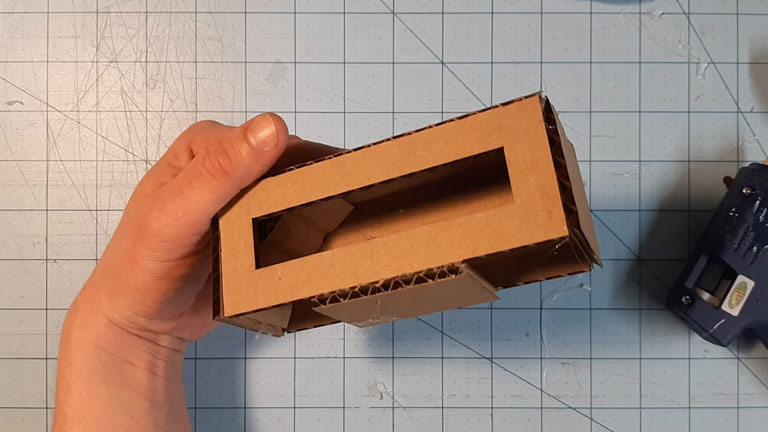
We will begin by taking the large cutout on page 2 (piece A), and lightly cut along the dotted line, making sure to not cut all the way through; this will allow the cardboard to bend at the seam. When all the cuts have been made and you have begun to bend your tower into shape, use some hot glue to help held it together. Make sure the tower forms a rectangular shape inside


STEP 2 A
Loading Platform Structure
Our next step will involves taking pieces B and C. Once again, lightly cut along the dotted line on C and fold it downward. You will then glue this piece into the L-shaped shaded area on both B pieces. This will form the track between them.
STEP 2 B
Loading Platform lifter (Pieces D, E)
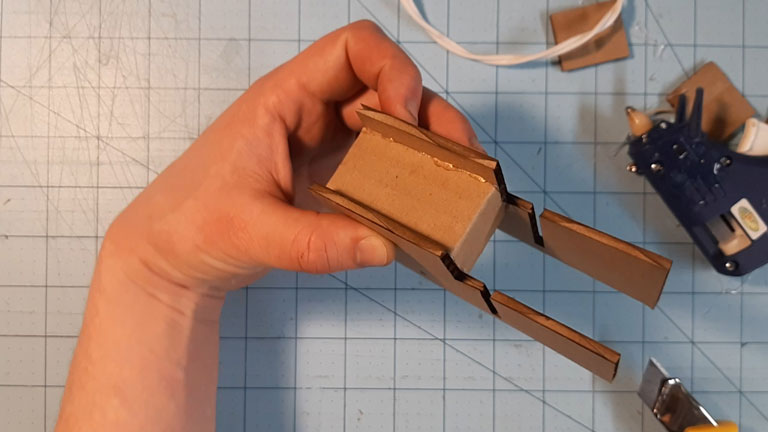
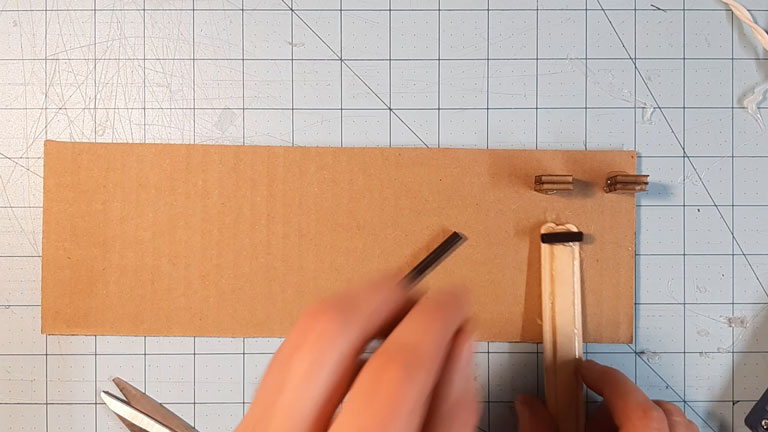
Now we need to build the platform that will help lift the marble into the Marble Lift. Take piece D, lightly cut the dotted lines, and glue bends in place. Grab both copies of piece E and glue them together
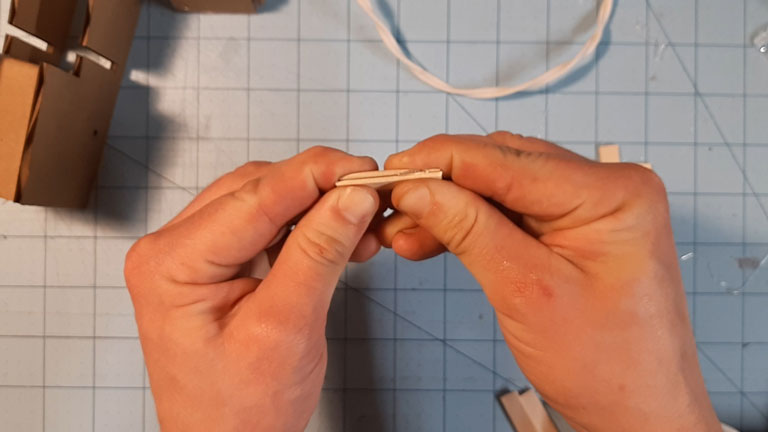
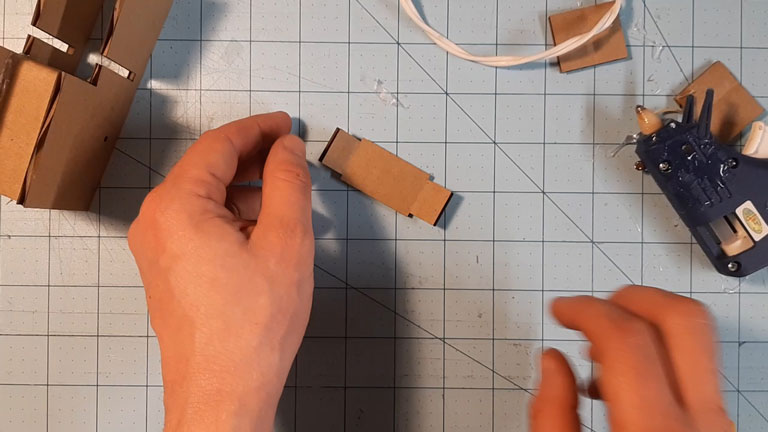
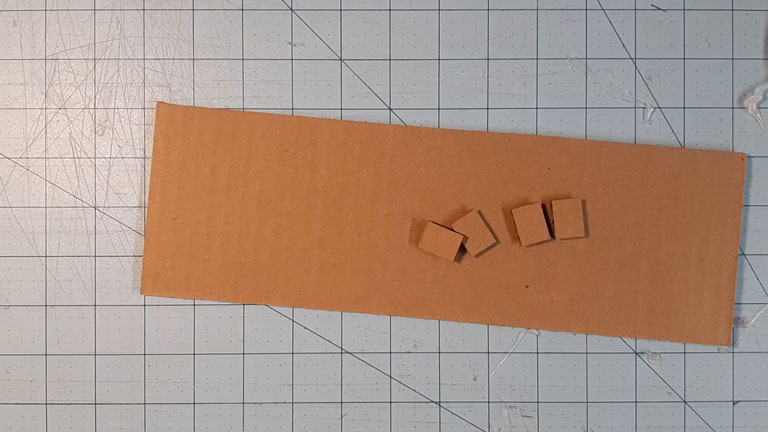
Next, grab your popsicle sticks. We need to cut 4 pieces 3.5 cm, and 4 pieces to 4cm (8 pieces total: four 3.5 cm, and four 4 cm). Glue these together in pairs, making sure to get them glued as tightly together as possible.
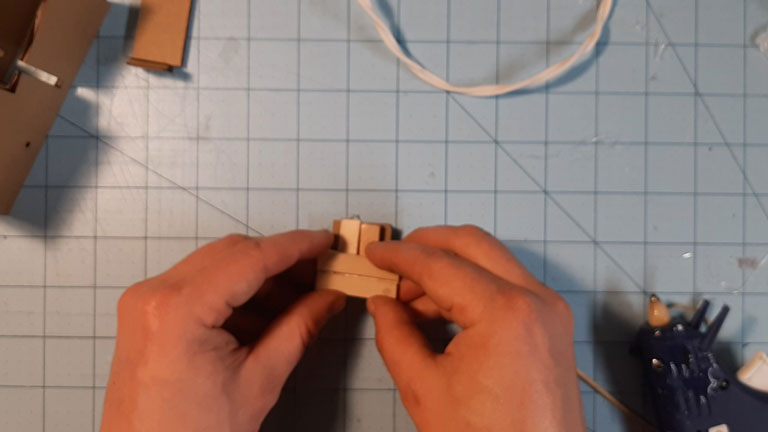
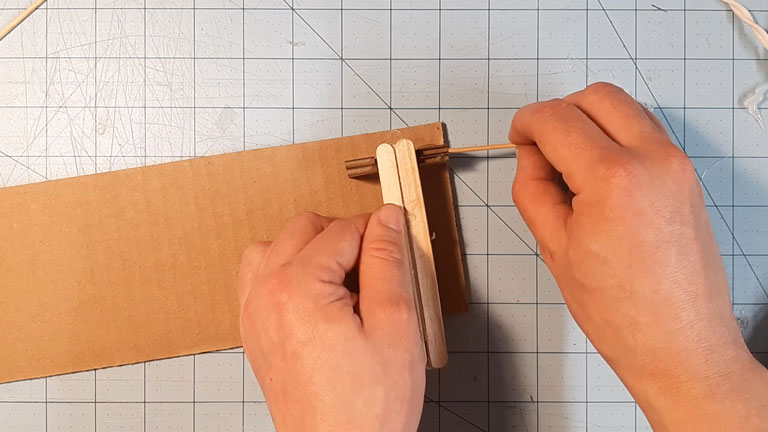
Take your 3.5cm pieces and glue them onto the back of piece E, making sure there is a bit of space between the end of the popsicle stick and cardboard. Now you can glue the 4cm popsicle sticks perpendicular to the ones you just glued on, paying close attention to making sure it sticks evenly off both ends
We can now glue this to the bottom of piece D. Try to make sure you glue it at an angle, as the marble will need to roll off the platform when we’re done.
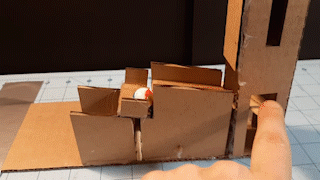
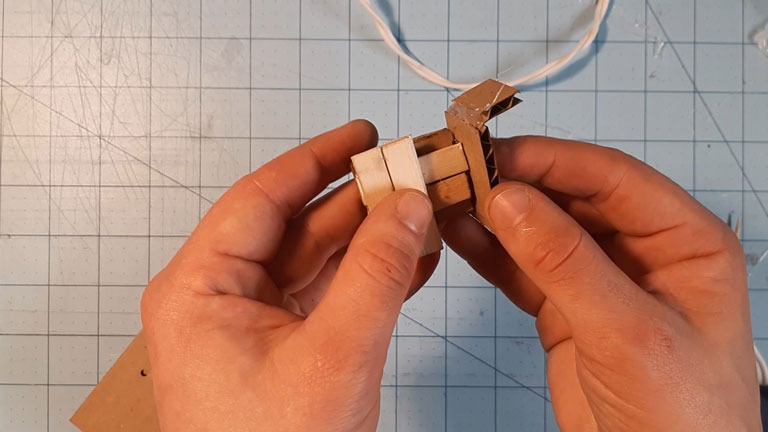
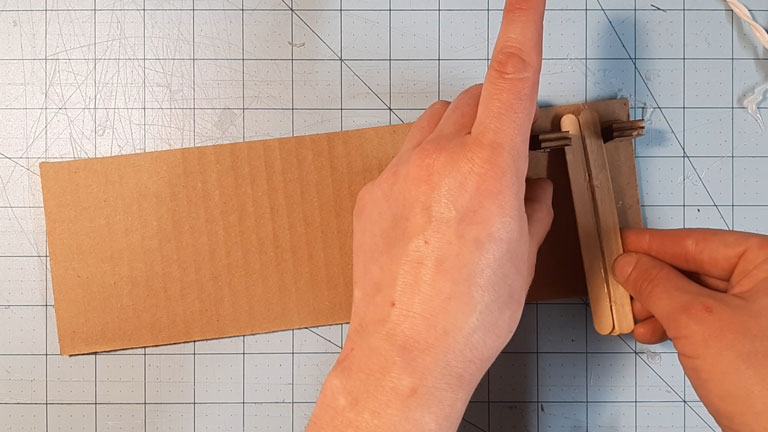
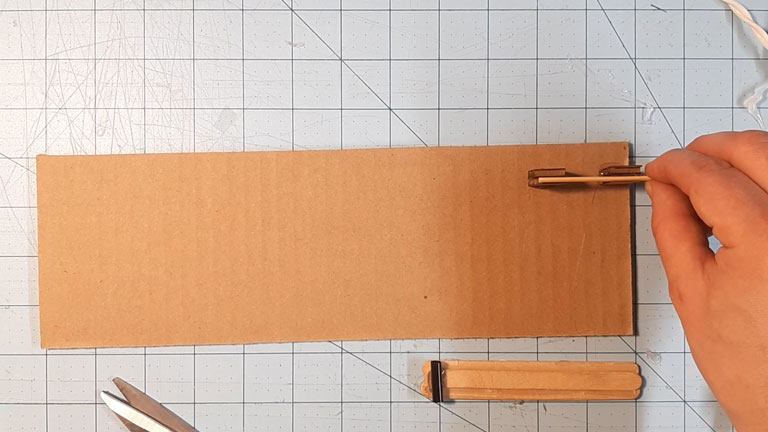
When you’re sure the glue is dry and secure, test your piece by placing it into the slot in the structure. Does it run smoothly? is it long enough? This step requires a bit of precision – this will be a moving part and this is where you may have trouble. Don’t sweat it. Try cutting the slots a TINY bit larger, or try remaking your popsicle stick structure. Its okay if it doesn’t work the first time; we can keep going until we get it!

STEP 2 C
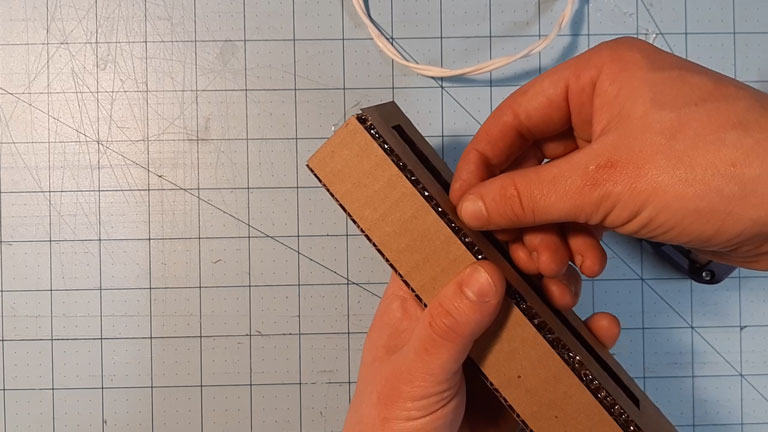
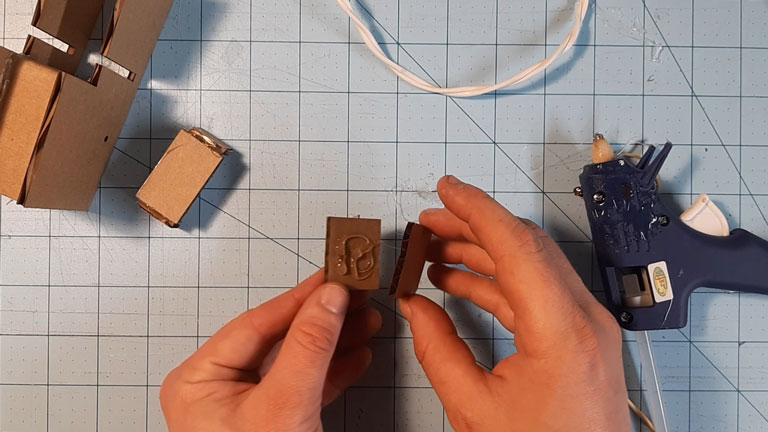
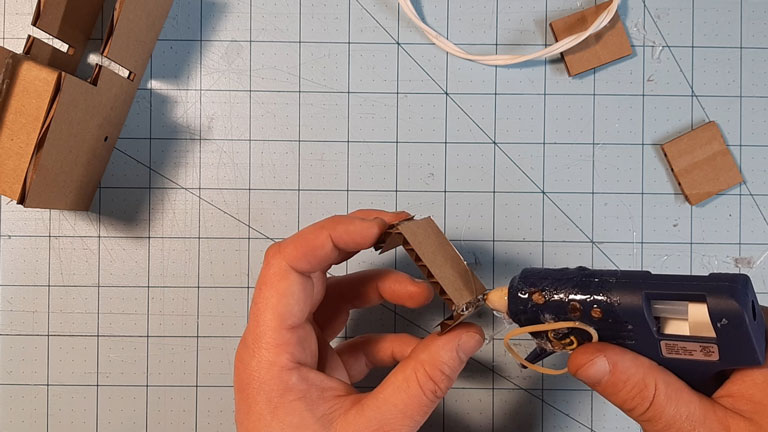
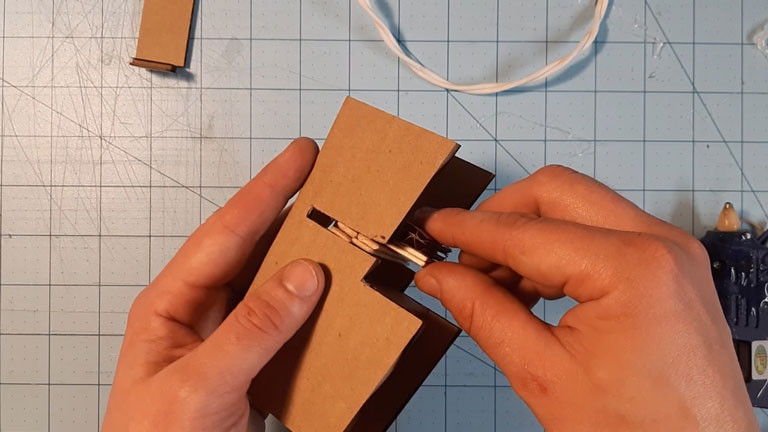
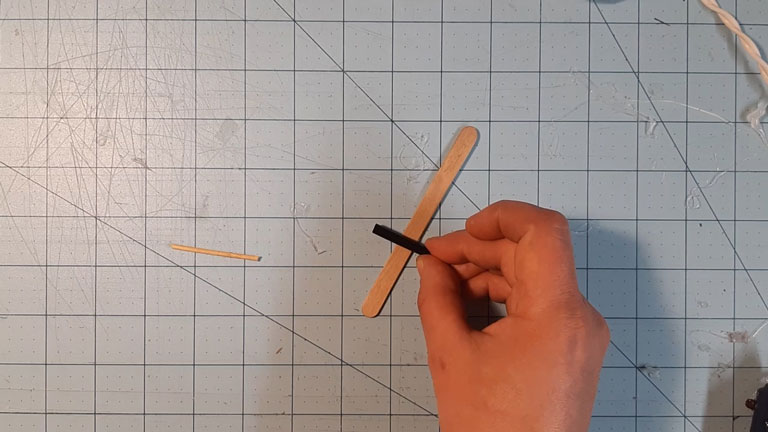
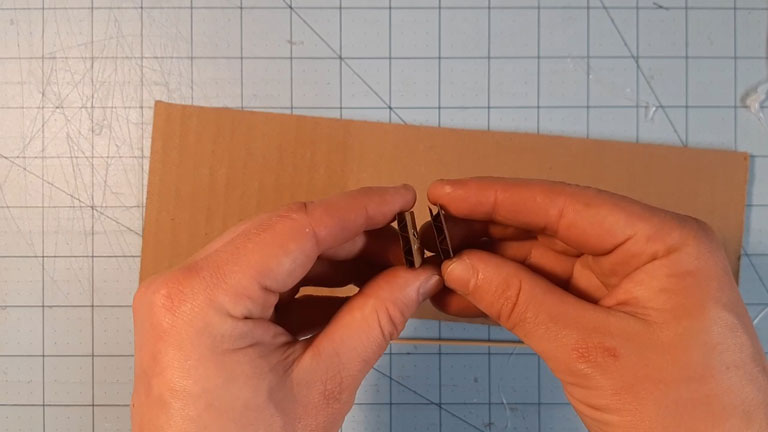
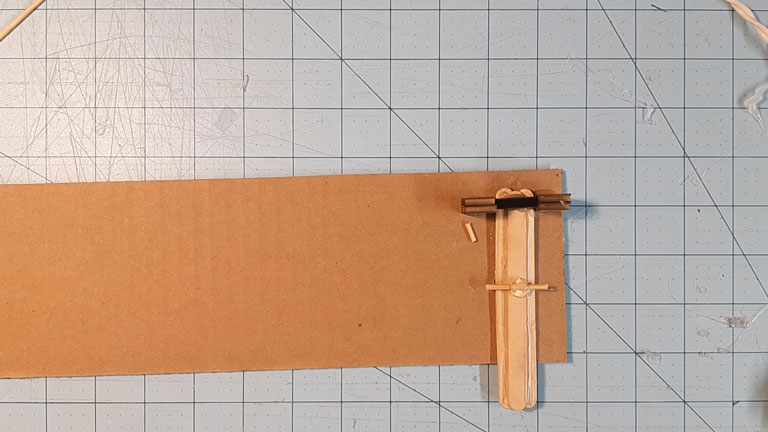
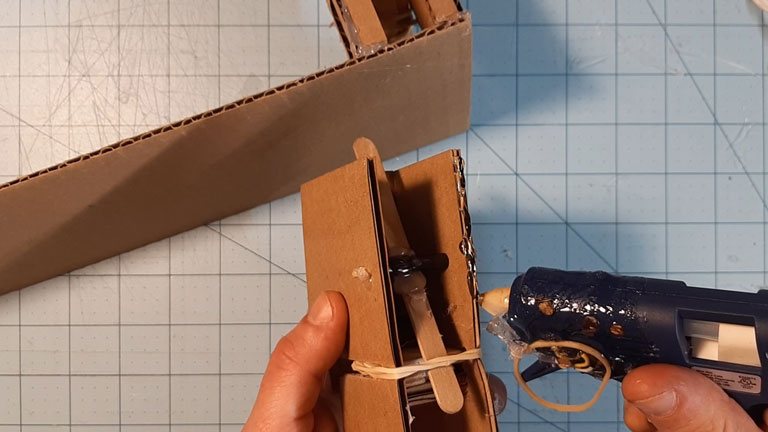
Flipper
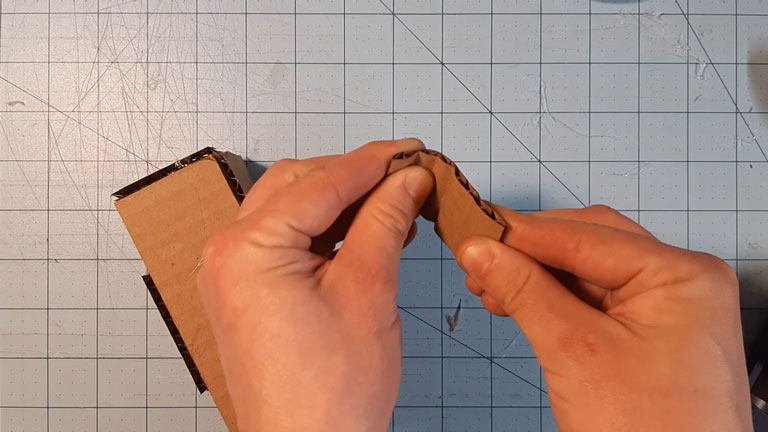
See the little hole on the side of your structure? we need to cut a barbecue skewer to fit through that hole (about 6cm should do). You will also need to cut a straw, but this time measuring the inside (it’s about 4cm) This straw bit is going to be glued to a popsicle stick near the middle. Before you glue, follow the images next to this step – Make sure the popsicle stick is long enough to go under the Platform Lifter you just made, but that the straw sits right where the holes on the sides are. When you’re sure its long enough, glue it in place
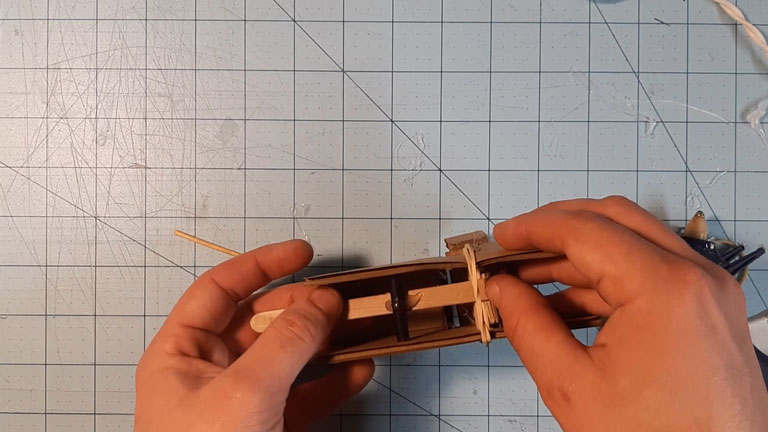


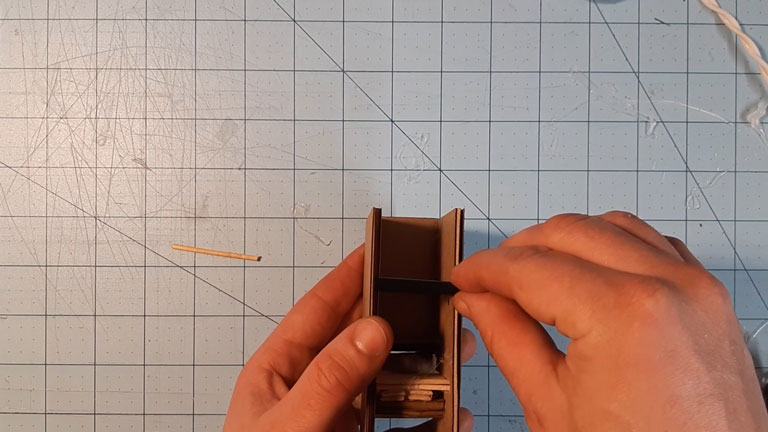
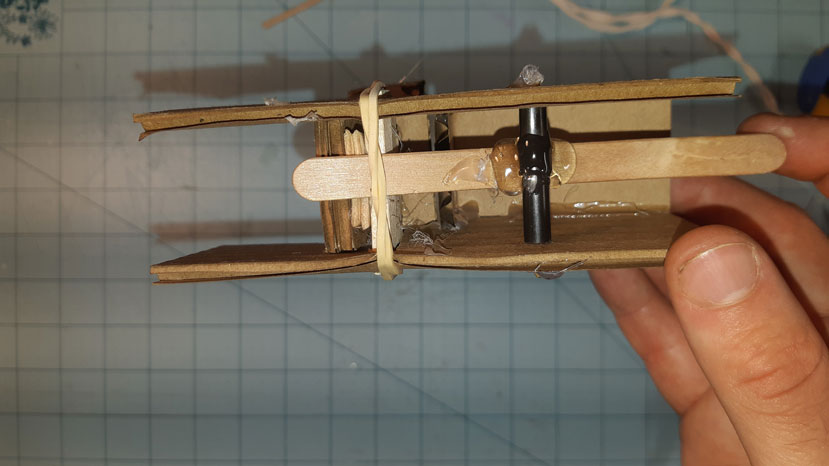
STEP 2 D
Putting it all Together
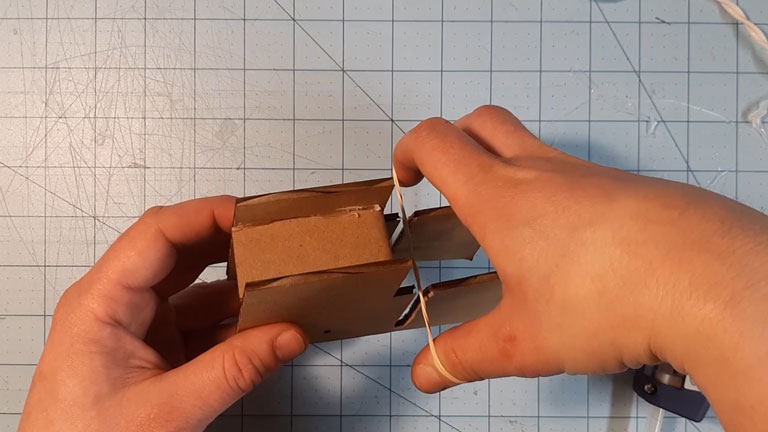
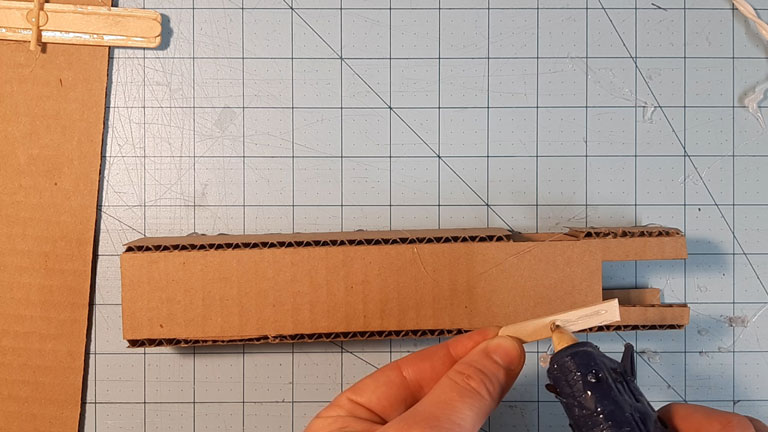
Now you’re ready to make everything move. Grab 2 or 3 rubber bands and carefully stretch them around the structure so they rest in the slot. This next part may be tricky, so you might want an adult’s help. Lower your Platform Lifter into the slot and stretch the elastics so they rest on top of the popsicle sticks. You should be able to feel the tension. you can place you popsicle stick underneath so that the straw sticks in between the elastic and the Lifter – your straw should also line up with the holes on the sides. Insert the skewer to hold everything in place and give it a test!
Now that you’ve tested your Lifter, what do you think? Does it work properly? Does it lift high enough? You might have to adjust where you place your cut-up popsicle sticks inside. Are your elastics tight enough? Elastics come in all shapes and sizes, try switching it up. Is it strong enough? If you find pieces bending or ripping, try reinforcing it with a bit more hot glue.
Don’t fret over this. Take your time and try again
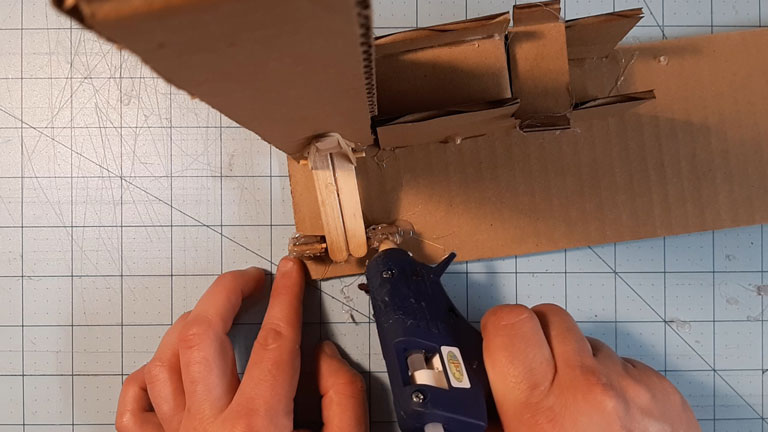
STEP 3
The Topper (Pieces F,G,H)
Before we put it all together, we’re going to use take part F and fold it into something to rest on the top of our tower to redirect marbles. Lightly cut and fold along the dotted lines and glue everything securely in place. Part G is going to act as something to deflect the marble, so glue it on an agle, so the marble will hit and and bounce in another direction. Try bending it to give a little curve.

STEP 4 A
The Flipper
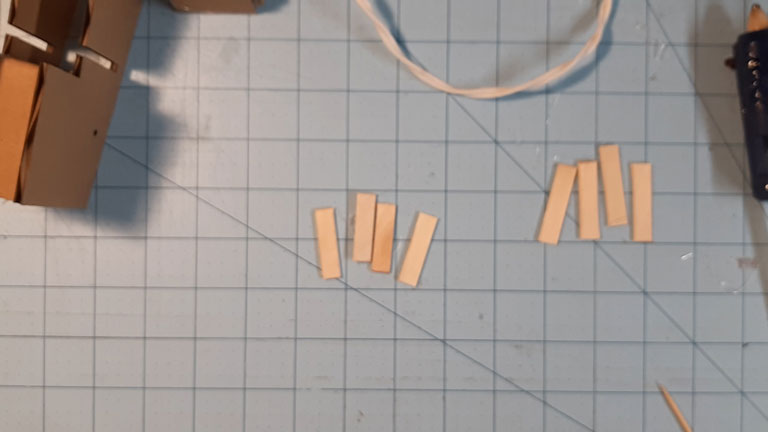
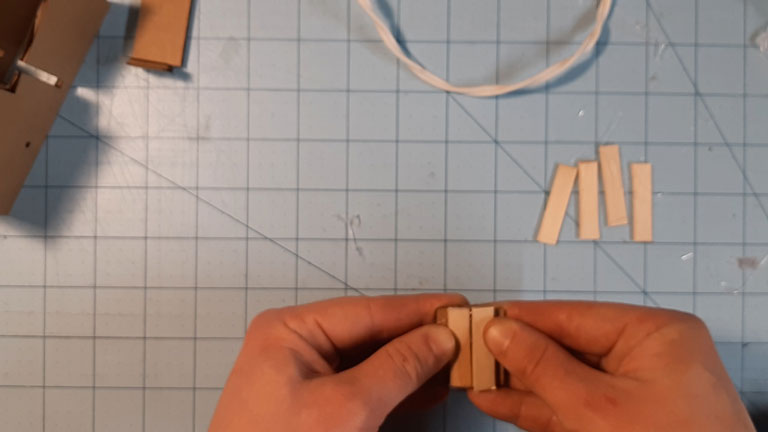
We’re beginning to put the rest of this together now. One major construction part left. We need to make the flipper and the base it sits on. You need to take 3 popsicle sticks and glue them together – 2 on the top, and 1 on the bottom between them as support. glue all this together tightly
STEP 4 B
The Base
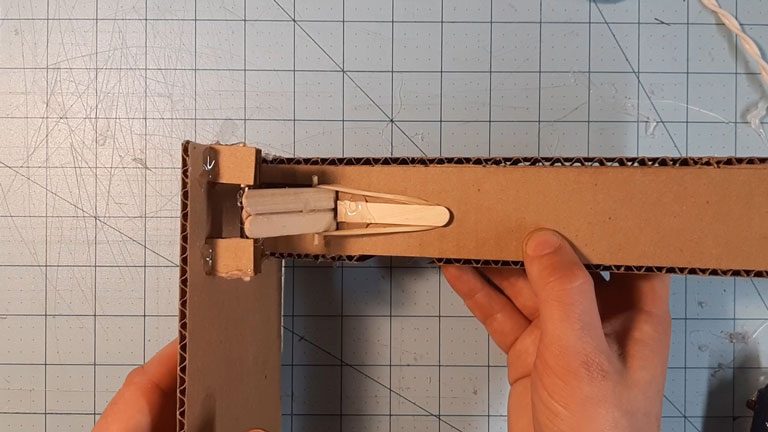
Grab a large sheet of cardboard to act as your base, and we’re going to start at the bottom right corner. Take the 4 pieces marked I and glue two of them together (you should now have two double thick pieces). Take one and glue it 9cm from the front. Place your popsicle stick flipper down as a spacer, and glue the other piece next to it
When this dries, we can attach the flipper to the base. Do so by cutting a piece of straw to go between the two glued down I pieces (it should be the same width as your flipper. You will also need to cut down a skewer to thread through the I pieces and the straw to hold it all in place. You will also need to cut another short piece of the skewer and glue it onto you flipper about 5cm away from this connection on the bottom side of your flipper (the final photo is showing you placement)

STEP 4 C
Final Steps
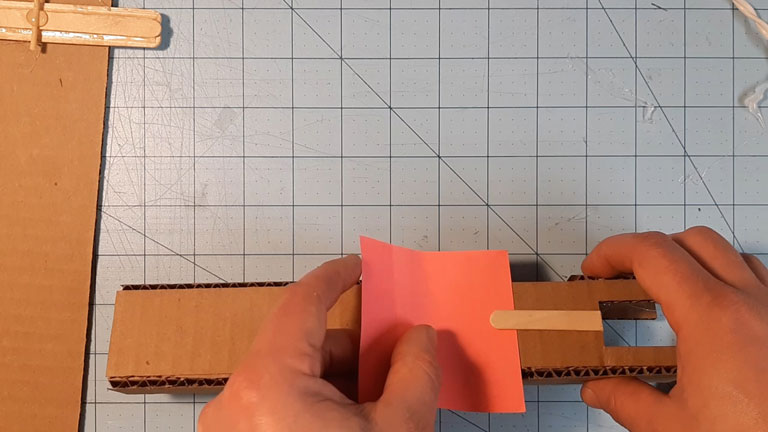
Now that the flipper is attached we just need to attach the elastics and the tower. Your first step will be to cut a popsicle stick in half and glue it to the backside of your tower just above the opening. Make sure that you don’t put glue on one of the popsicle stick and that you are able to slip a piece of paper behind it when it dries (you will see why this is important in a second). Thread 3 or 4 elastics on the the flipper before you glue the tower down in place in the bottom right corner. When this is dry and in place, take your elastic and loop them on top of glued on popsicle stick, and gentle pull them down behind. They should now be ‘locked’ in place by this popsicle stick and the glue on skewer
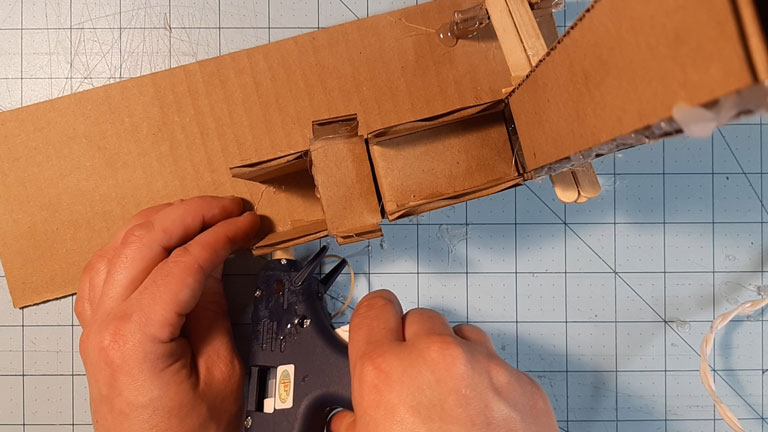

STEP 5
Final Touches
All that’s left is to glue on the Loading Platform we built in step 2. Making sure that when you put the Platform and the Tower next to each other, the popsicle stick from the Platform should rest under the popsicle stick from the tower. When you press down on the Tower sticks, this should push the popsicle stick lever on the platform, cause that structure to move as well. And now your marble should roll into the machine, waiting for you to release the flipper and fling it into the air. Try adding a bit more glue to the I parts holding the flipper to the base, this is the spot most likely to see tension. Glue you topper on next, using part H, when folded, as a means to have the Topper tilt for the marbles to roll out
Congratulations! You’ve now assembled your Marble Lift! Use it to propel your marbles to new heights and new adventures on your Marble Run!