Build a Lane Changer
What You’ll Need
- Lane Changer Design Template
- Cardboard (corrugated)
- Wooden Dowel or Chopstick (about 6mm)
- Rubber Bands
- Popsicle Sticks
- Glue Gun and Glue Sticks
- Box Cutter or Sharp Scissors (and an Adult’s Help)
STEP 1
The Frame
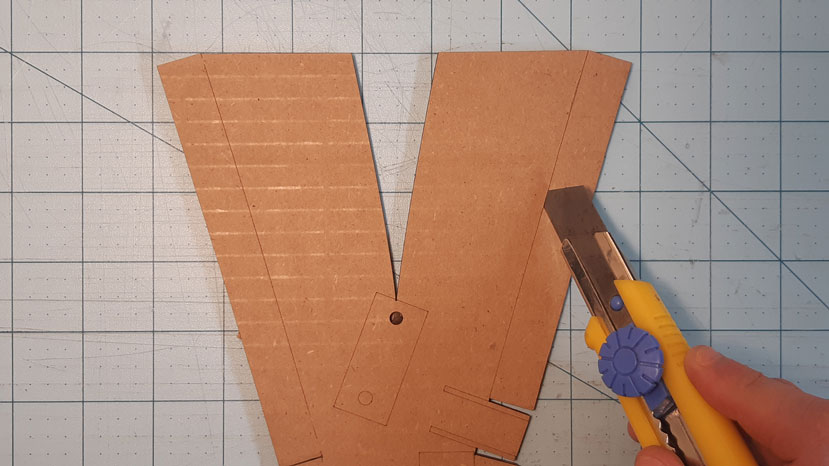
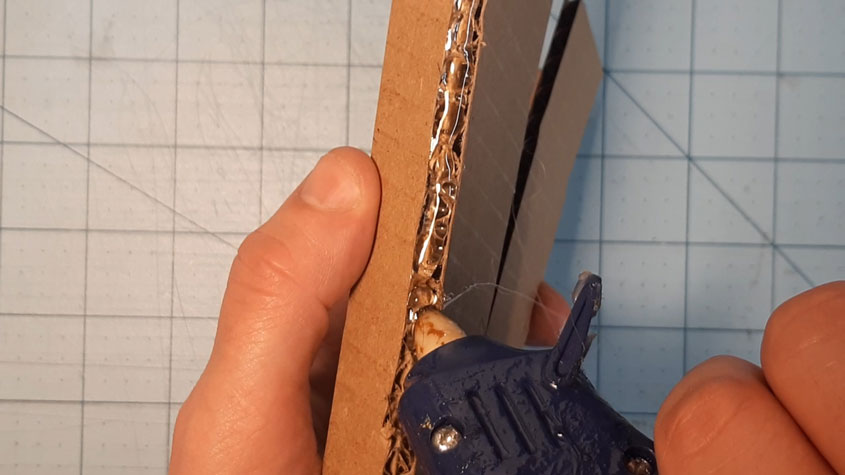
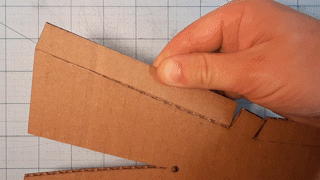
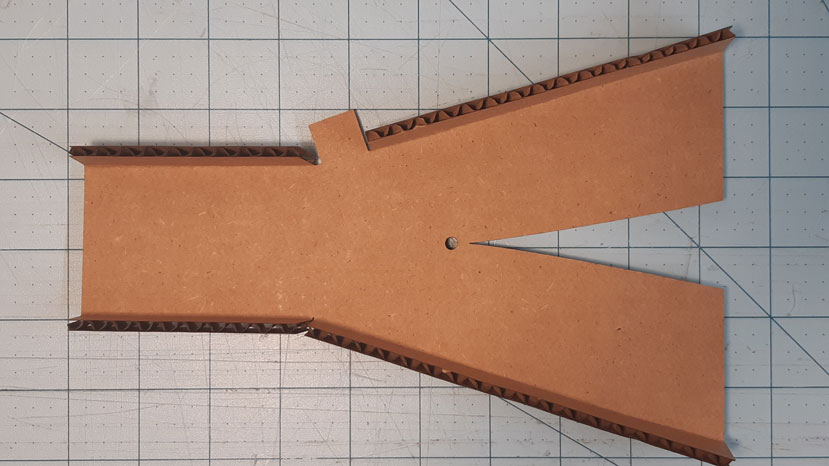
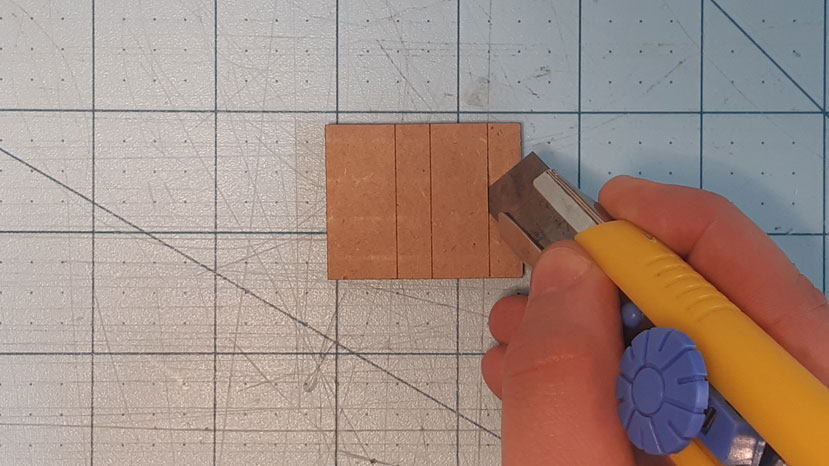
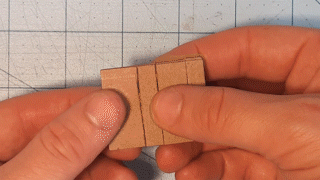
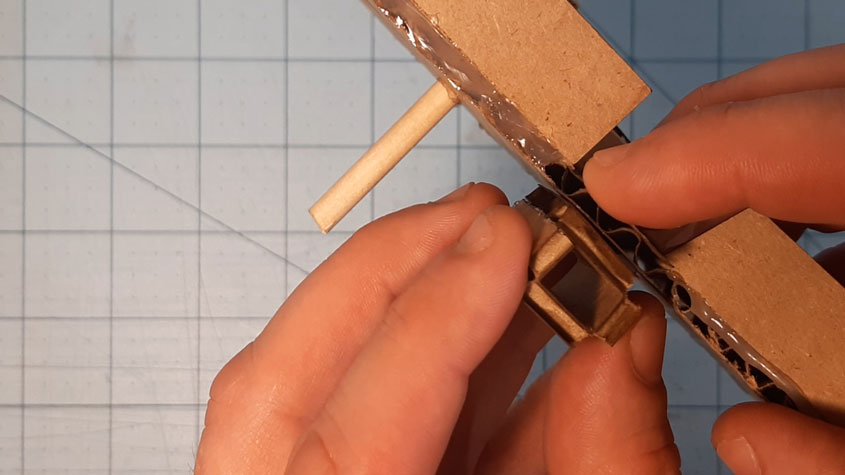
Like many of our other projects, the first step here will be to glue your design template to some cardboard and cut out all the pieces. We will be starting with the large Y-piece. Lightly cut along the dotted line, being careful not to cut all the way through – this will allow the cardboard to bend. Once you have made all these cuts, bend and glue the walls in place
Use the Wall A pieces from the Design template and glue them onto the board as close to the edge as possible in the V-shaped area at the top

STEP 2
Building The Smaller Pieces
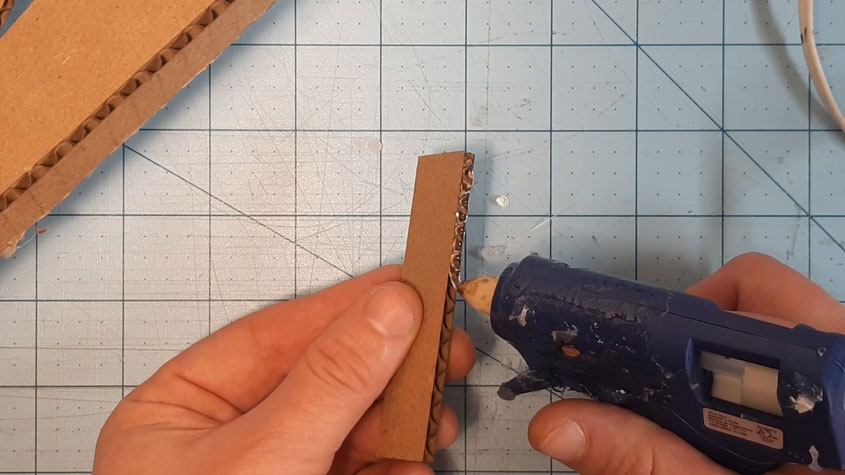
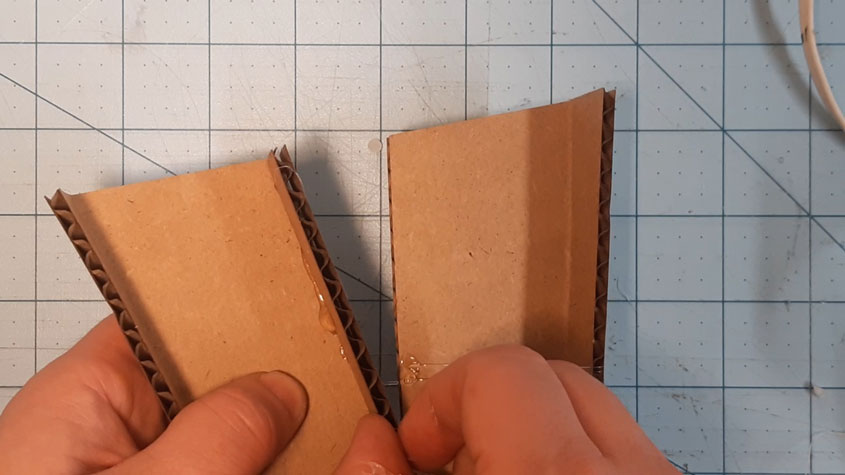
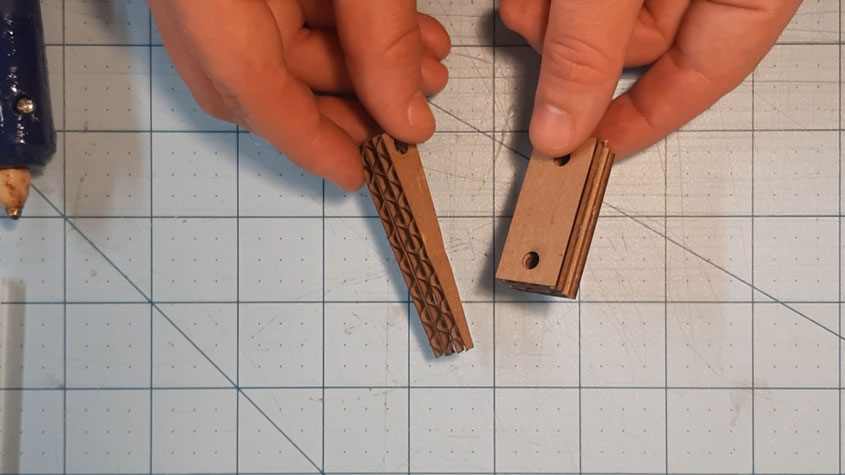
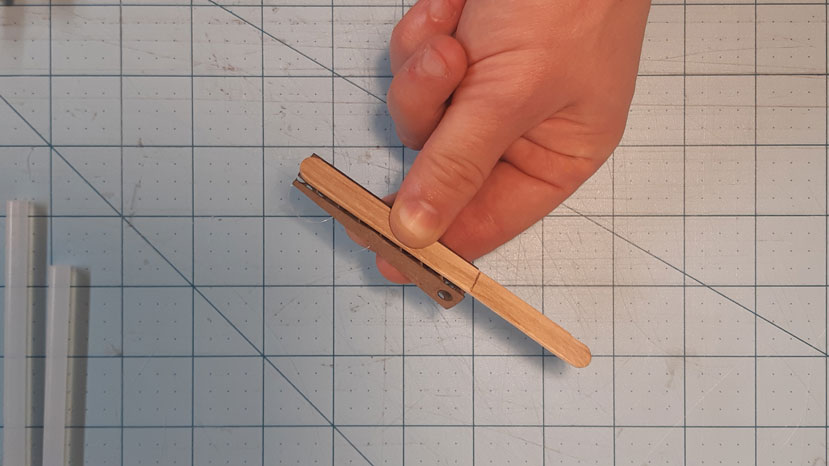
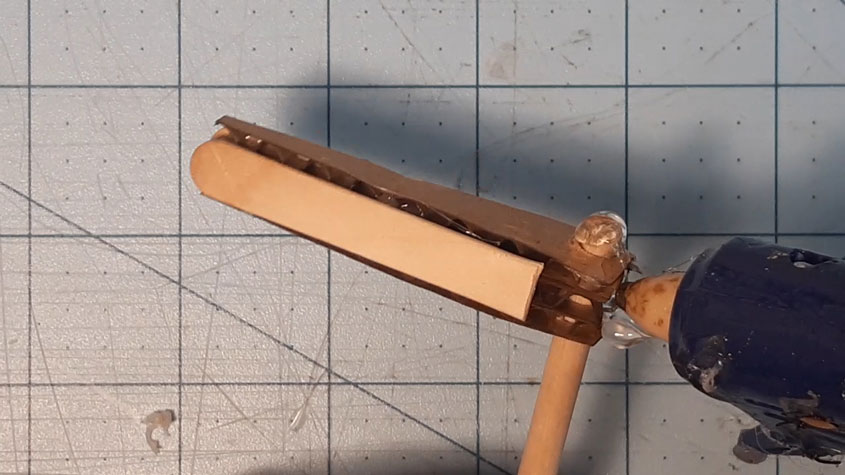
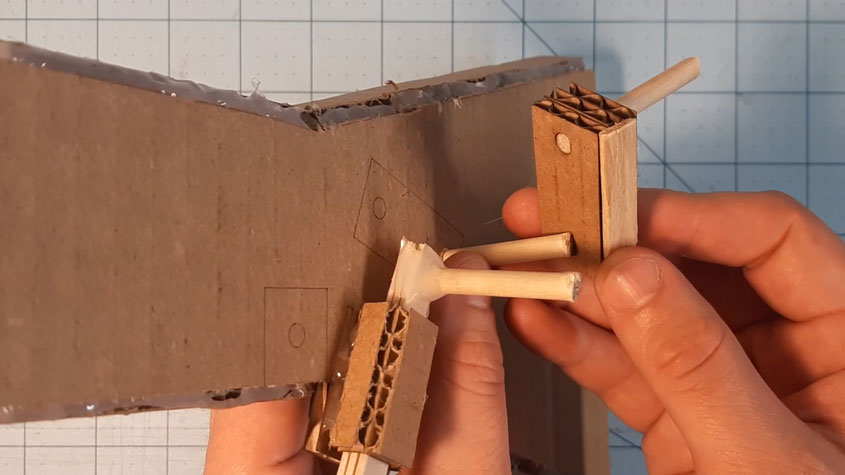
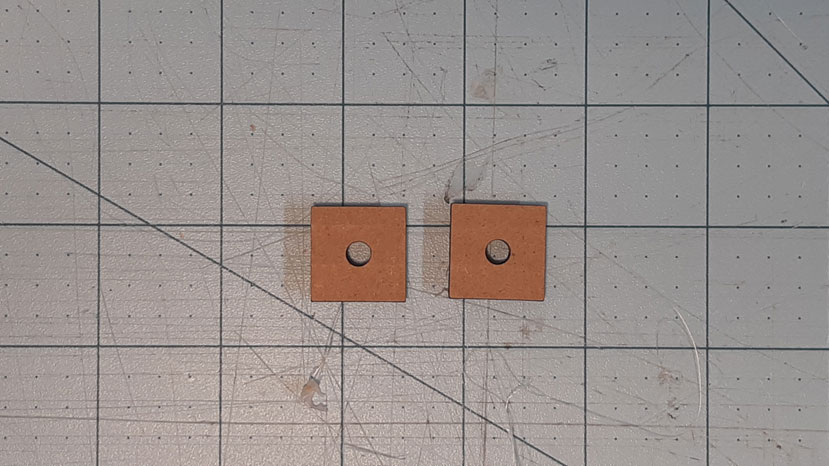
In this step we’re going to be assembling all the smaller parts which will make up the Lane Changer. Start first with the Moving Block and Flipper pieces. Glue all three pieces together, paying careful attention to not get glue in the holes.
While these are drying, you can cut a popsicle stick in half, and glue it to either side of the Flipper piece (to protect against constant marble hits). You also need to glue a popsicle stick to the side of your Moving Block piece, but only on one side

STEP 2 B
The Button Guide
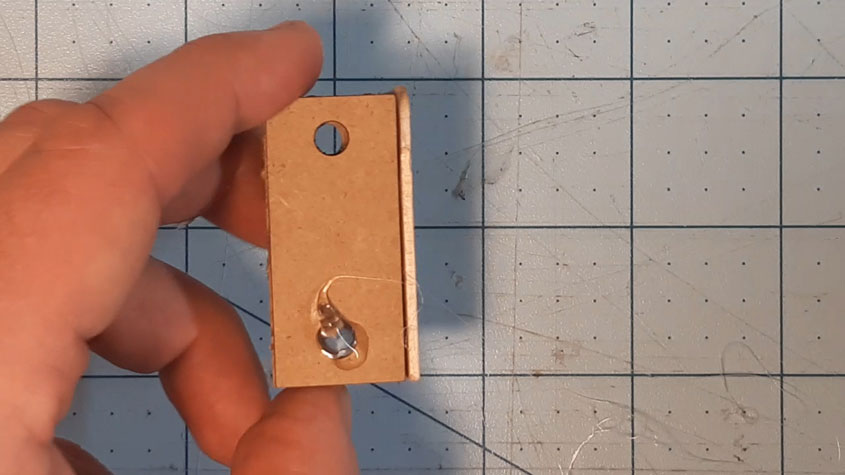
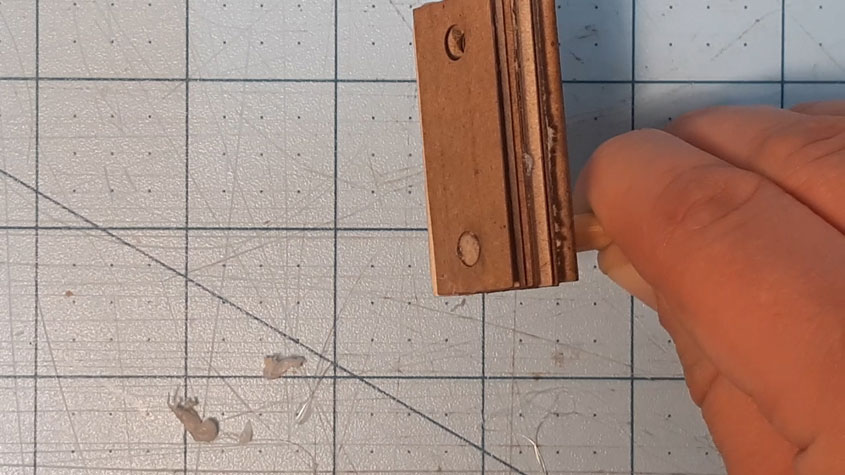
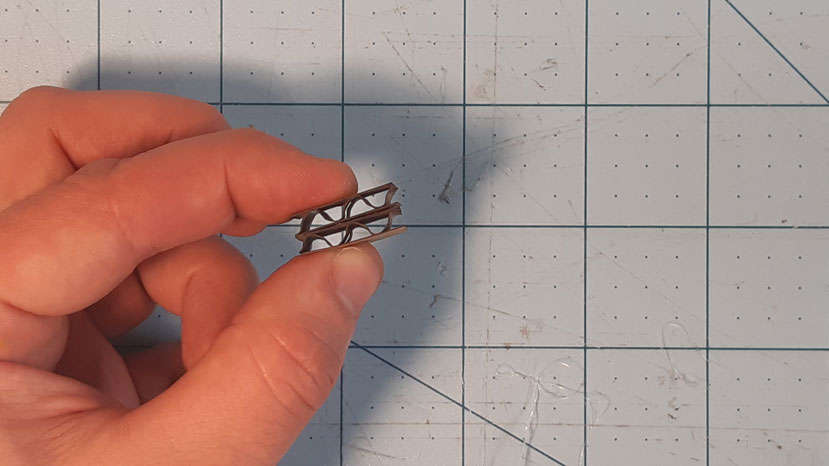
Next, grab your Button Guide piece and lightly cut along the dotted line. Be extra careful, this is a small piece and requires a bit of care and precision to cut and fold. Watch the GIF on the side carefully, when you bend and glue it, you want to make sure you have as close to a rectangle inside as possible

STEP 2 C
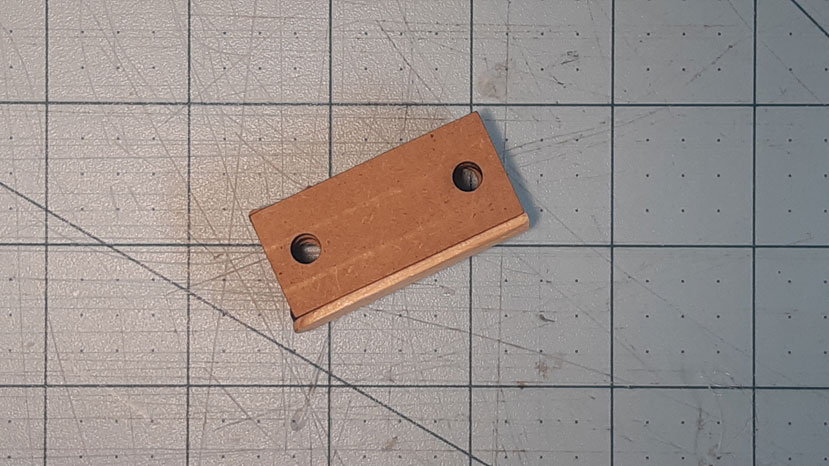
The Pegs
The final stage of the parts assembly requires you to cut your chopstick or wooden dowel down into 4 pieces to approx. 6 cm in length. Fill hole in the back of the Flipper and stick one of the wooden pegs all the way through so it barely sticks out the other side. Reinforce this with a bit more glue if you’d like.
Do the same with the Moving Block piece, paying close attention to where you are gluing: with the popsicle sick on the right side, fill the bottom hole with glue and stick a peg into this hole so it is flat on the other side.
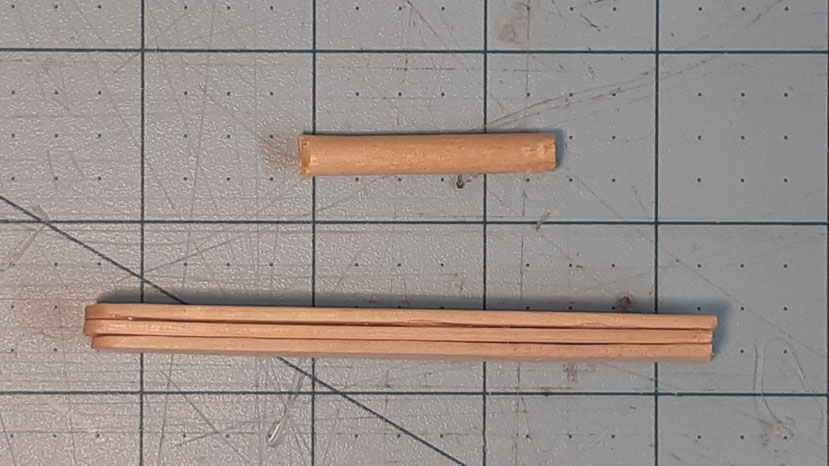

You will also need to glue 3 popsicle sticks together as tightly as you can, and secure a peg on the end of this by using a good amount of glue


STEP 3 A
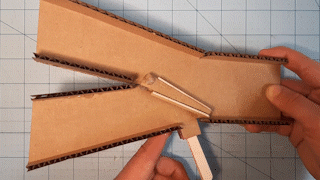
Assembling
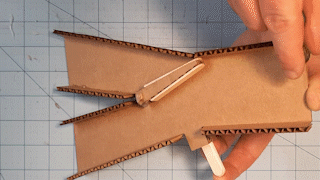
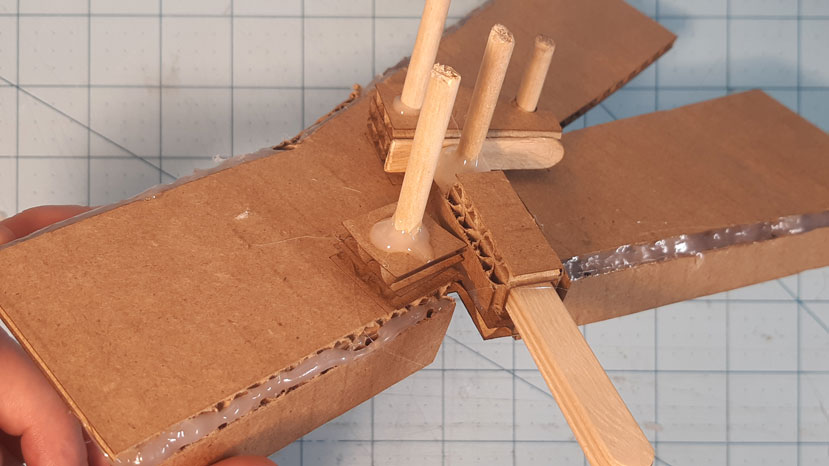
You’re in the home stretch now – all you have to do is put the pieces together. Start by threading the long end of the peg from the Flipper piece through the hole in the top of the board (the peg should be seen o the bottom with all the other shaded areas). Next, take your Button Guide, and glue it into the shaded area – NOTE: Yours may look a little different than the photographs, just make sure you’re gluing it using the shaded area as a guide. The rest should stick off the side). When this is firmly glued in place, slide your peg-and-popsicle stick in, and press the Moving Block piece onto the peg sticking through (connected to the Flipper on the other side). Don’t glue this in place just yet
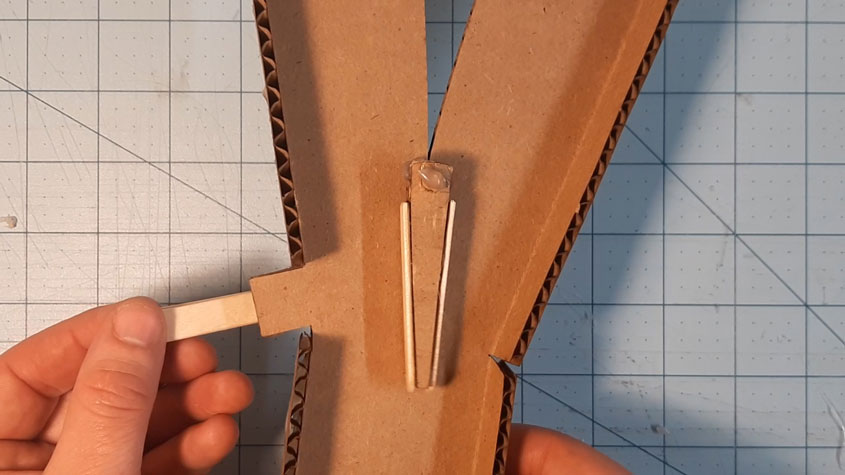
When you press this popsicle stick button inward, it should move the Flipper piece on the other side. Make sure its aligned properly. Only glue the peg to the Moving Block piece when you have tested the range of motion of the flipper. Tip: Push the button in, and when the Flipper hits the side wall, use this as a stopping point.

STEP 3 B
Support
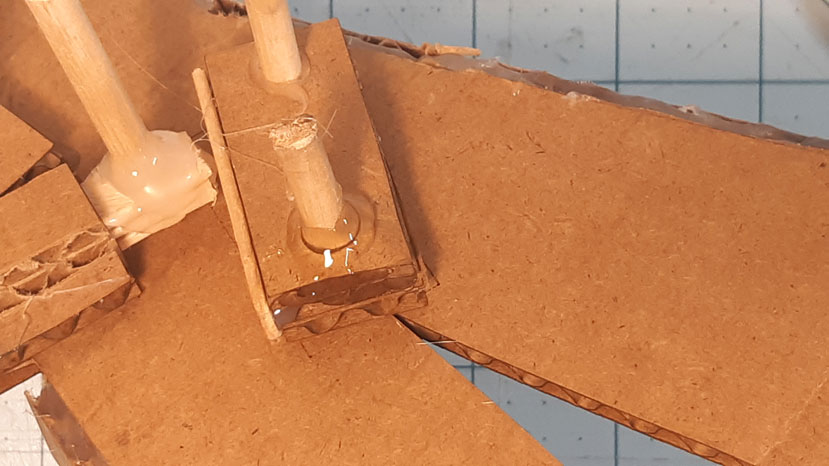
Your final task is to glue on one final support peg that we are going to tie our elastics around – this one well help pull the button back once you press it in. Start by grabbing the Peg Support pieces and gluing them together. When that’s done, take your final peg, and push it through the center hole, making sure the peg just barely pokes out the other side. Glue this into the shaded area next to the Button Guide piece
STEP 4
The Elastics
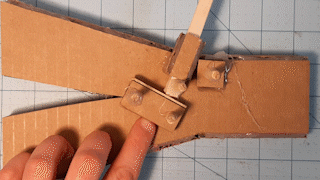
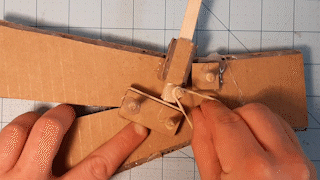
All that you need to do now is wrap the elastics around three of the pegs. Follow along with the attached pictures. Start by double wrapping the elastic around one attached to the popsicle stick, and then stretch that to attach to the other pegs next to it. This should be enough to pull you button back when you press it in
STEP 4
The Elastics
All that you need to do now is wrap the elastics around three of the pegs. Follow along with the attached pictures. Start by double wrapping the elastic around one attached to the popsicle stick, and then stretch that to attach to the other pegs next to it. This should be enough to pull you button back when you press it in
And there you have it. You should be able to activate the flipper just by pushing in on your button (you can make that smaller if you like)
Having Trouble? Try a different elastic, or double wrapping them around a different peg. Does your button get stuck or have difficulty moving? Try looking at the Button Guide piece again and make sure that the inside is close to a rectangle and there as little glue as possible in there.